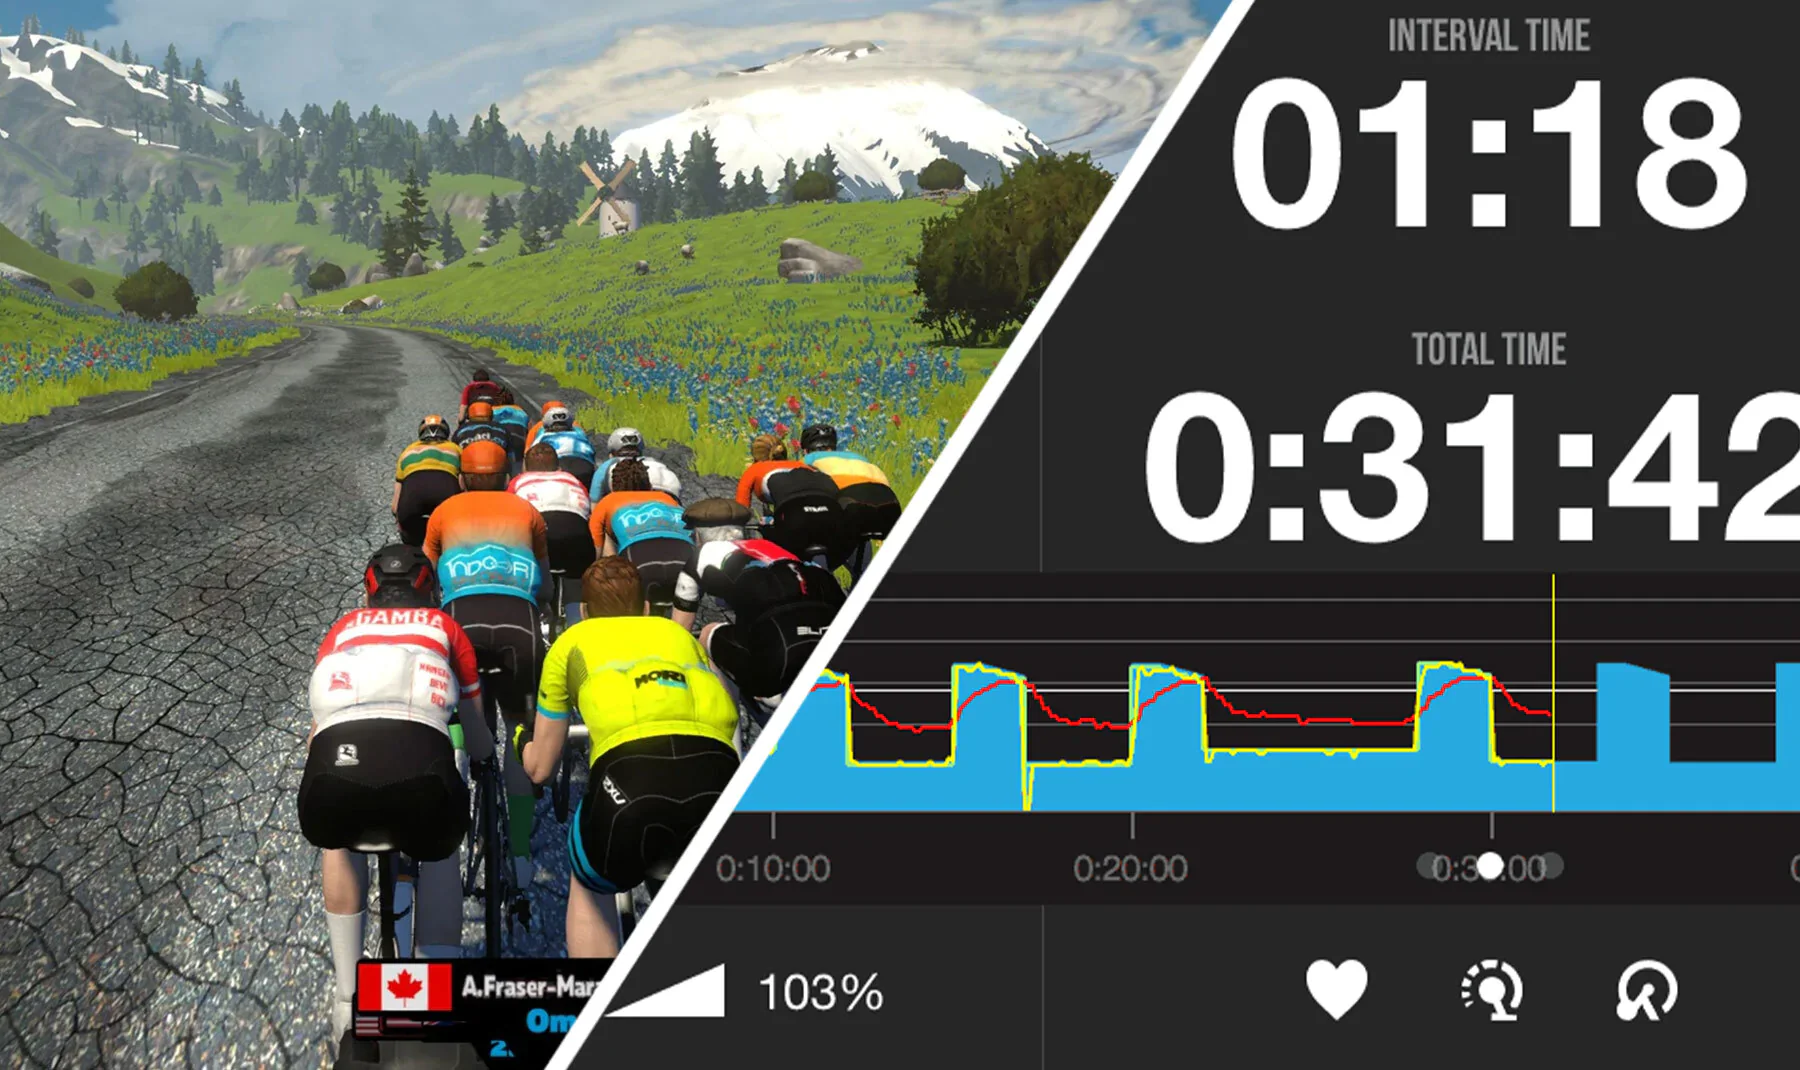
Virtual riding has become the panacea riders need in dark times. Whether it’s poor weather, family life, or a pandemic forcing you to stay indoors, virtual riding platforms like Zwift help you to stave off cycling withdrawals and stay fit. Combined with new, high-tech smart trainers, the experience of riding cycling is more fun and engaging than ever.
However, the high cost of new smart trainers and all the other trainer dungeon essentials might deter cyclists who are more budget-minded or those who are just trying Zwift to see if they like it. So what’s a frugal rider to do?
"Dumb" trainers vs. smart trainers for Zwift
Classic resistance trainers have been available for years. They use either a fluid, magnetic, or fan unit for resistance. Sometimes, with magnetic units, resistance can be adjusted manually. Otherwise, riders have to shift gears or pedal faster to make things harder. Beyond that, classic trainers don’t offer much else.
Smart trainers measure a rider’s power (and sometimes cadence), broadcast the data wirelessly, and automatically adjust the resistance in real-time to match the virtual terrain. This means, when you start going up a hill in Zwift, it gets harder to pedal, forcing you to shift down just like in the real world. Smart trainers help make the virtual riding experience feel more like outdoor riding. They can also be used in "ERG mode" which controls resistance during structured workouts. This means you don't need to think about shifting during workouts. You just pedal and the trainer adjusts resistance to help you hit the prescribed power targets. Classic trainers lack all of these features so many have re-dubbed them as “dumb” trainers.
That's a bit harsh, isn't it? Ultimately, a classic "dumb" trainer is the most cost-effective way train indoors. And believe it or not, you can still enter the world of virtual riding with your old indoor trainer. An entry-level "wheel-on" smart trainer usually retails in the $500 range and good classic trainers can be had for $100-300 less. They’re especially affordable when compared to direct-drive ("wheel-off") smart trainers that cost over $1,000. You won't have luxuries like automatic resistance adjustment or ERG mode, but you'll have more money in the bank.
To use a classic trainer with apps like Zwift, or other options like TrainerRoad, the only data needed is power. There are two methods you can use to get measure power on a classic trainer — a power meter on your bike, or by using virtual power and a speed sensor.
Using a power meter for Zwift
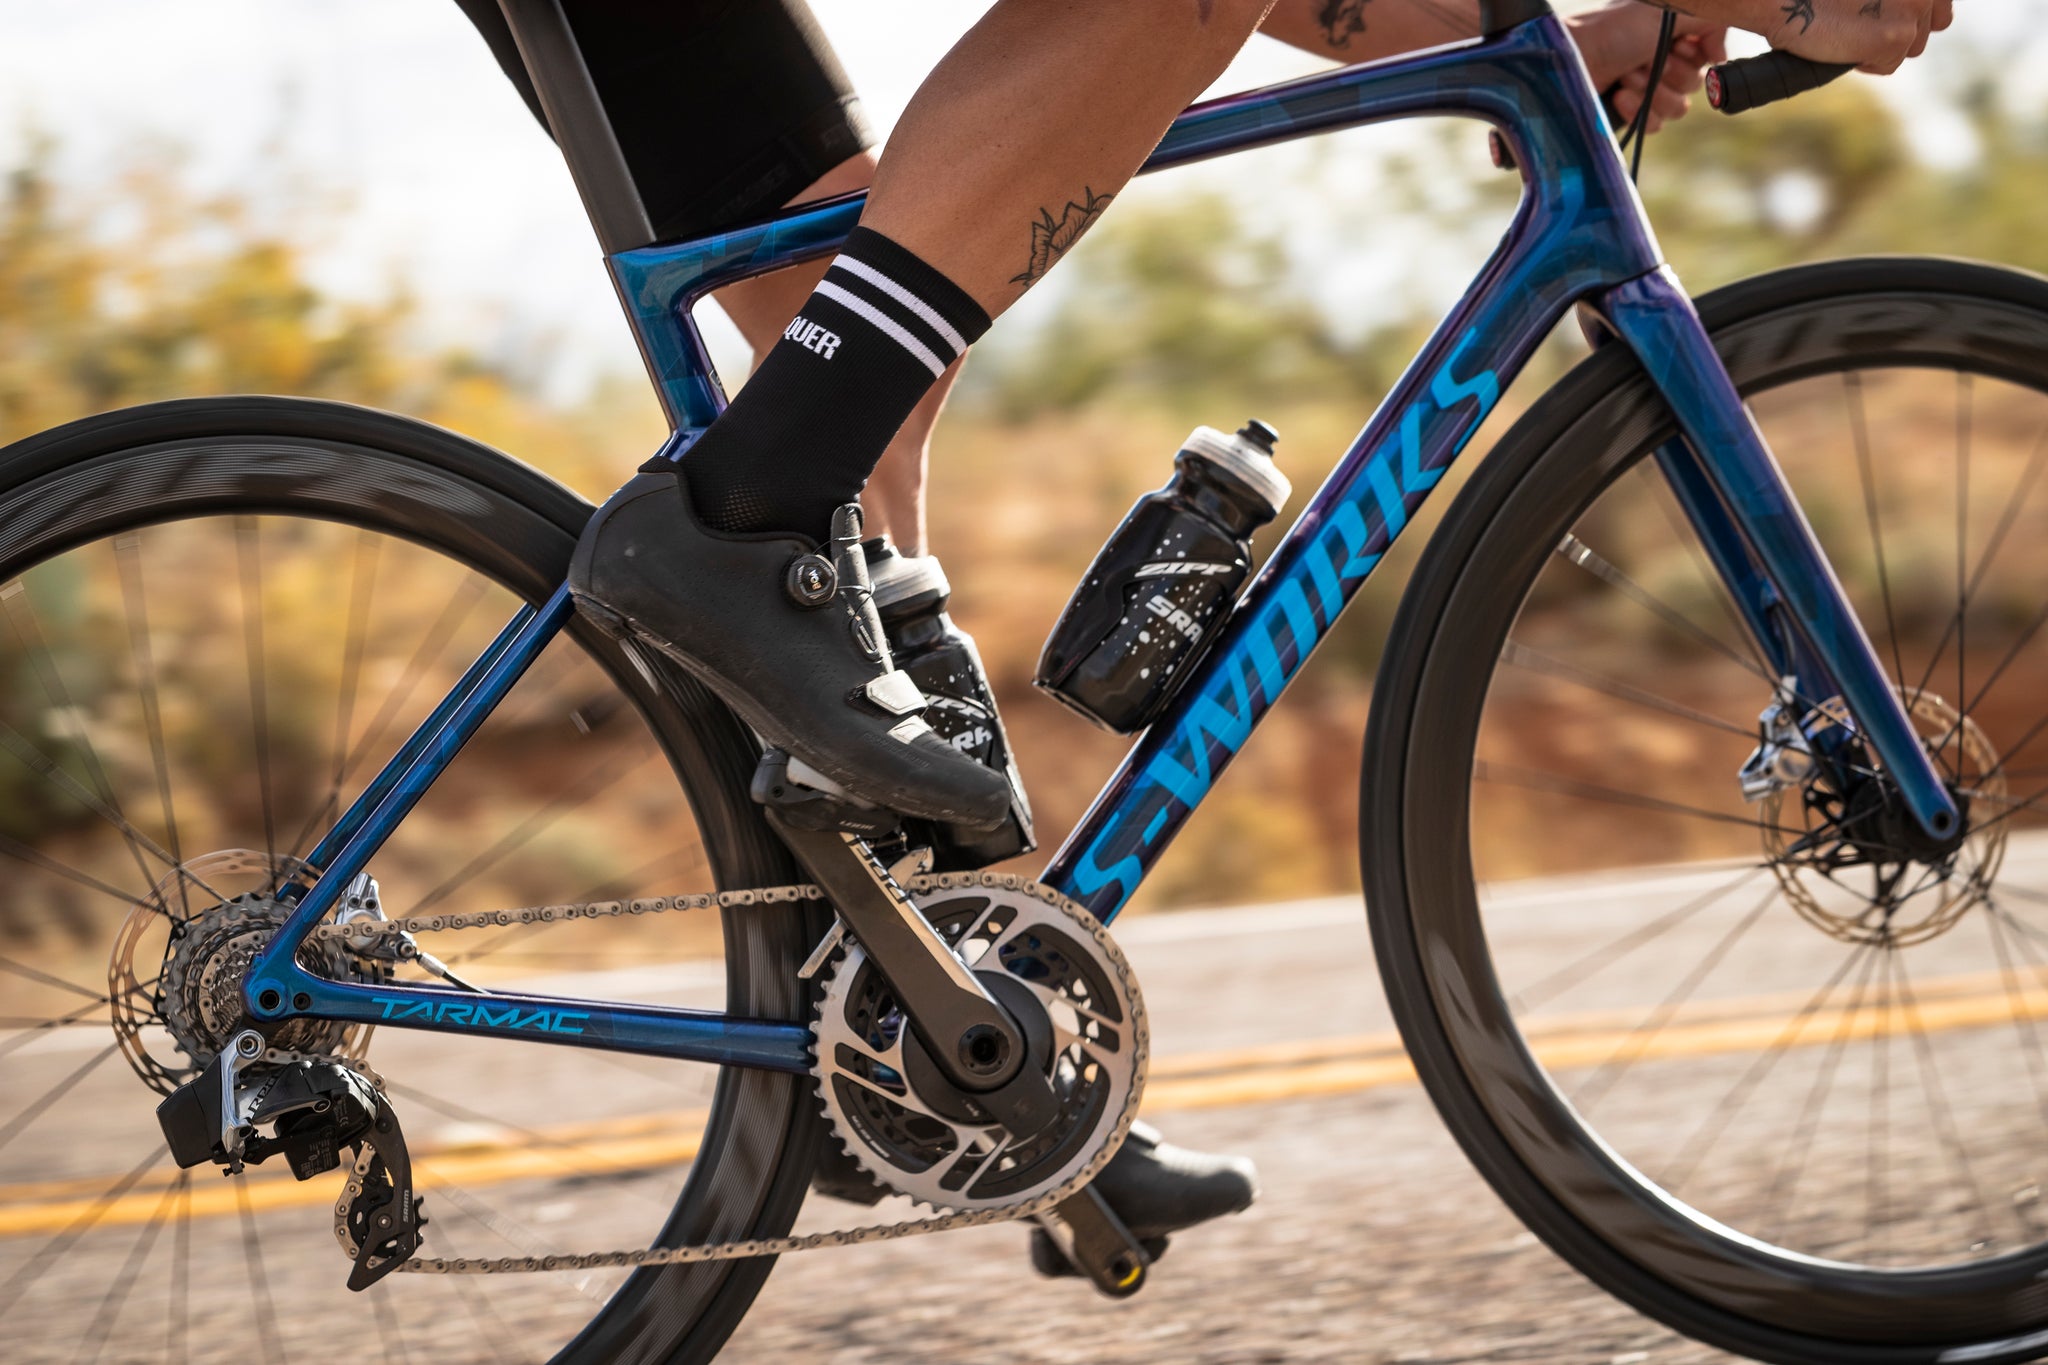 A bike equipped with a power meter like this Quarq crankset is ready to go with any dumb trainer.
If you already have a bike equipped with a power meter, you’re in luck. Most new power meters support both Bluetooth and ANT+ transmission. Put your bike on the trainer and pair your power meter to the Zwift app by searching for it under “Power Source."
If your power meter only transmits ANT+, you'll need a USB "dongle," typically about $40, to plug into your computer, which will receive the ANT+ signals. If you intend to use Bluetooth, make sure the device you're using to run Zwift is compatible with Bluetooth 4.0/BLE or "Bluetooth Smart Ready." Many older devices aren't compatible with new Bluetooth standards, but inexpensive Bluetooth dongles can be used if this is the case. Once connected, either via Bluetooth or ANT+, you're ready to ride.
If you don't own a power meter already, new ones are comparable in cost to smart trainers. But it's a versatile option because you can use the power meter during your regular outdoor rides. If you're data-oriented, want train outdoors, track your fitness, or pace your effort for races and other goals, a power meter is one of the best tools you can add to your bike.
Using virtual power for Zwift
If you don’t have a power meter on your bike then you will need to use “virtual power.” Virtual power requires a speed sensor to measure the speed at the rear wheel. With classic trainers, there is a relationship between wheel speed and how much power the rider is generating. This relationship can be graphed as a “virtual power curve.” Riding apps like Zwift can then use the power curve for a specific trainer, take the wheel-speed data, and estimate your power in watts.
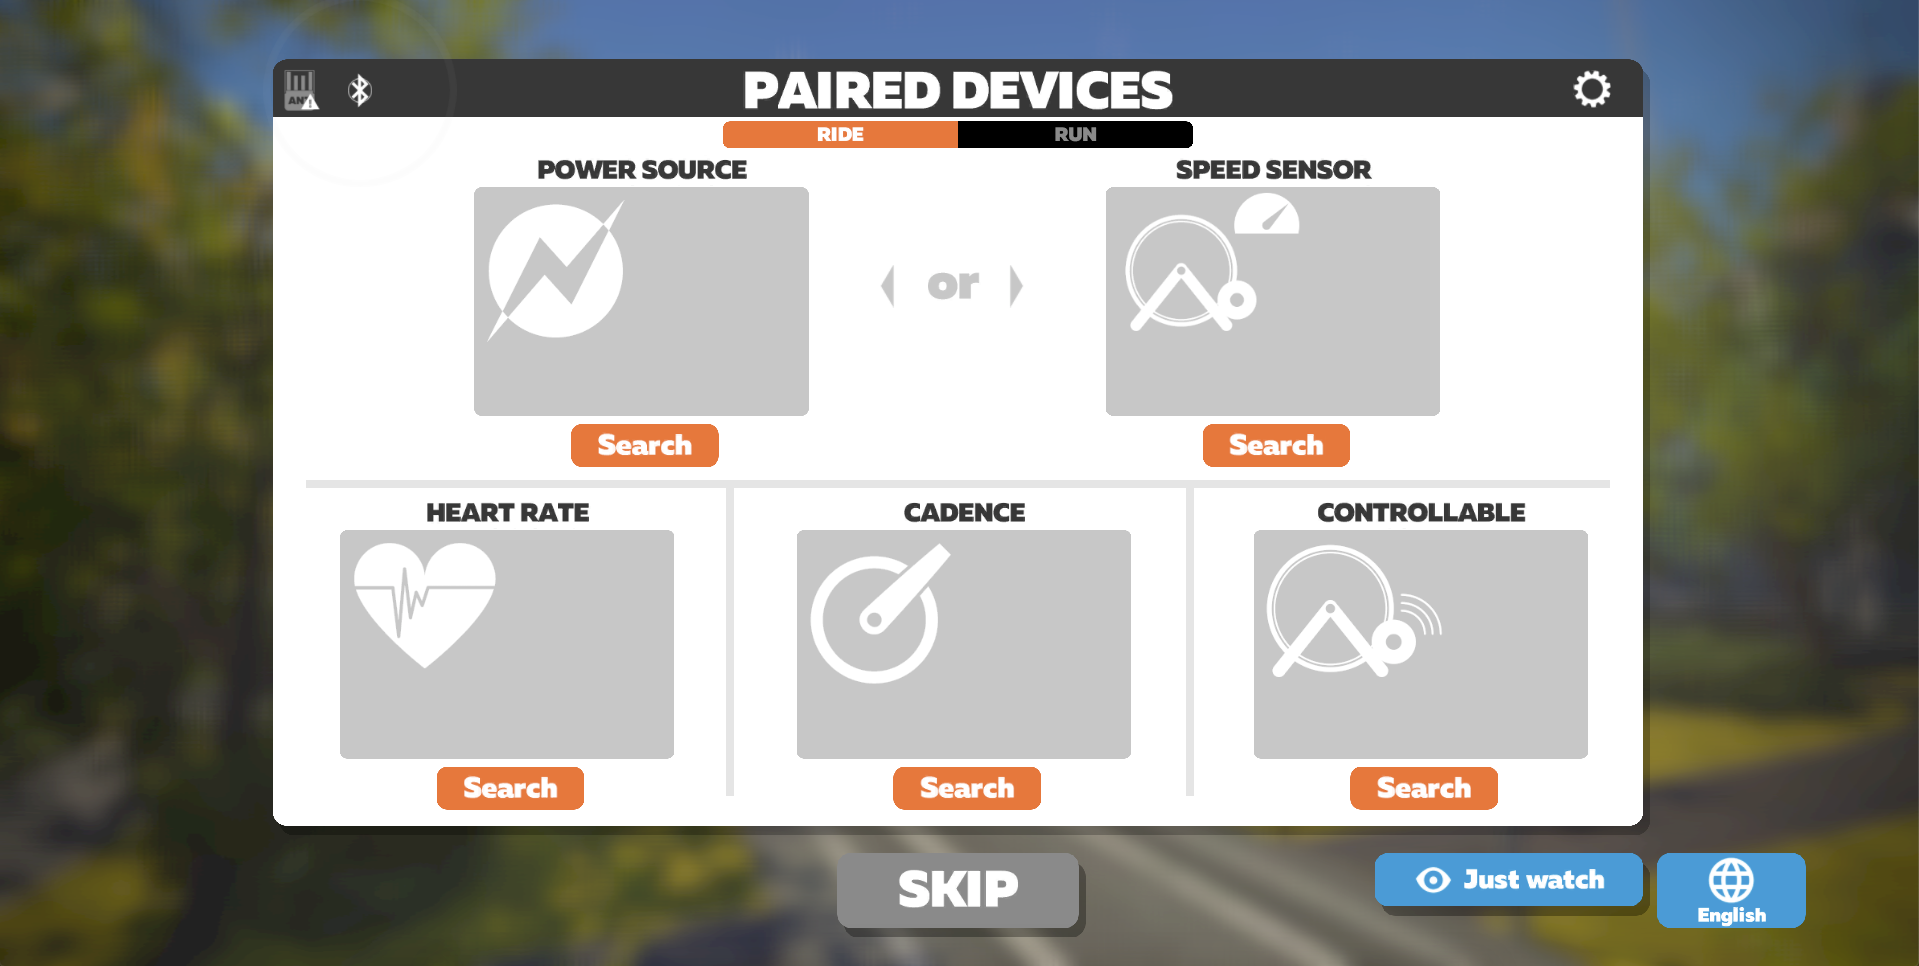
"Power Source" on the upper left is where you connect a power meter or smart trainer. If using a Speed sensor with a classic trainer, connect using "Speed Sensor" on the upper right.
Too use virtual power, pair a speed sensor to the Zwift app by searching for it under “Speed Sensor.” You will be required to select your tire size and then your specific trainer. Some classic trainers will be better than others and you'll be capped at 1200 watts. Check that your trainer is on Zwift’s list of supported trainers. Trainers that have "zPower with Speed and/or Cadence Sensor" in the notes will be the most accurate and respond better to accelerations than other classic trainers.
If your trainer isn’t listed then you will have to select “unlisted trainer” and hope for the best. Because there isn't a known power curve, this could affect your ride experience. You'll be capped at 400 watts but it will still be a great way to try out Zwift and decide if you want to upgrade in the future.
Choosing a speed sensor for Zwift virtual power
You will need a way to measure your rear wheel speed wirelessly to ride on Zwift with virtual power. The most popular option is a simple Bluetooth and ANT+ enabled speed sensor made by Garmin and Wahoo. They attach to the center of your rear hub using zip ties or a rubber strap.
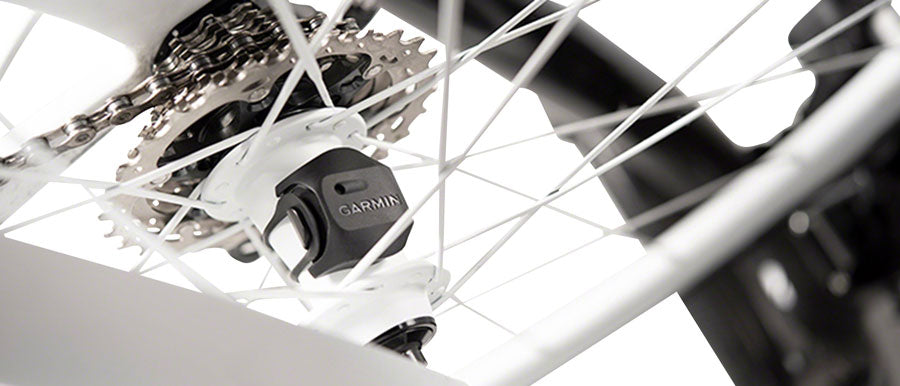 Garmin and Wahoo also have wireless speed and cadence sensor bundles. Cadence isn’t necessary for virtual riding, but Zwift does recommend it to improve the experience.
Wahoo Speed Sensor - $39.99
Garmin Speed and Cadence Sensor bundle - $69.99
Wahoo Speed and Cadence Sensor bundle - $69.99
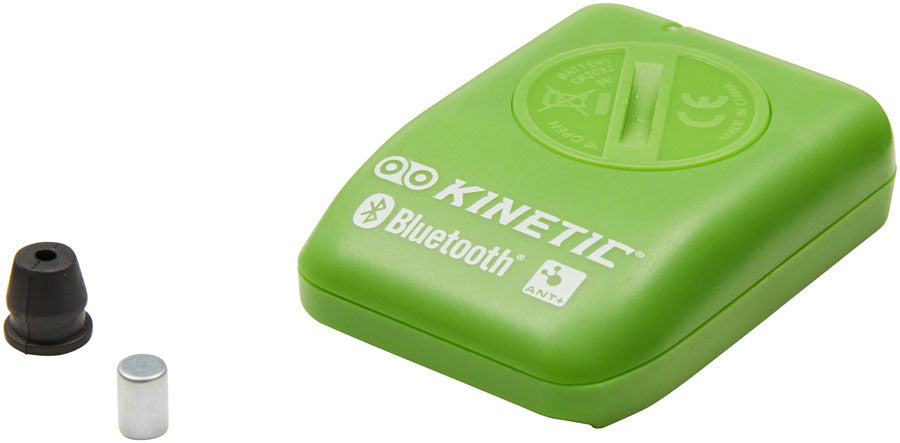 If you own a Kinetic Road Machine, you can upgrade it with Kinetic’s inRide 3 Power Sensor. It’s a speed sensor attached to the back of the trainer which detects a small magnet installed in the roller. Using Kinetic’s Road Machine power curve, the inRide 3 sensor will transmit power data directly to Zwift.
Kinetic inRide 3 power sensor - $49.99
It will connect to Zwift the same way a normal power meter would. For a complete package, Kinetic offers the Road Machine Smart 2 which has the inRide 3 sensor already installed.
If you don't have a trainer, there are also classic trainer packages that include a speed sensor:
Tacx Boost Trainer Bundle - $329.99
Saris Fluid 2 Smart Equipped Bike Trainer - $379.99
Virtual power accuracy on Zwift
Zwift has done extensive testing and has power curve data for a large number of trainers to ensure that they can produce consistent and accurate numbers. I used virtual power with a Kinetic Road Machine classic trainer and had a power meter on my bike to compare. In my experience, the displayed power was close, but at times it did read 10-15 watts off when compared to my Stages power meter. This was especially noticeable during punchy efforts and fast accelerations. In general, my virtual was slightly higher than what my power meter measured at the cranks.
I also found that I sometimes couldn’t keep the power as smooth for long durations compared to my power meter. Fatigue would force me to shift and cause undesired fluctuations in wheel speed and power readings. But overall, virtual power was consistent with itself, which is what matters most for regular riding and training.
Keep in mind that your trainer's power curve can be affected by factors such as how tight you’ve attached the wheel against the roller, your tire size, or how much air is in your tire. For example, if you’ve tightened the roller against your wheel tighter or looser than before, the power curve won’t account for the change in resistance. You’ll end up working harder or easier than the power numbers might indicate. Try to keep these things consistent every time you attach your bike to the trainer so your experience is consistent every time you ride online.
If you want the most accurate virtual power curve, these are the key points that will help you match Zwift's power curves as closely as possible:
- A fully-inflated tire.
- A properly-tightened trainer tension knob (per manufacturer recommendations).
- The correct resistance setting, if applicable (Zwift may recommend a particular setting on trainers with adjustable resistance).
The Zwift "dumb" trainer riding experience
For our own testing, we used the Kinetic Road Machine fluid trainer with an inRide 3 sensor to see how it compared to using a smart trainer. The inRide 3 was very easy to install and calibrate using the Kinetic phone app.
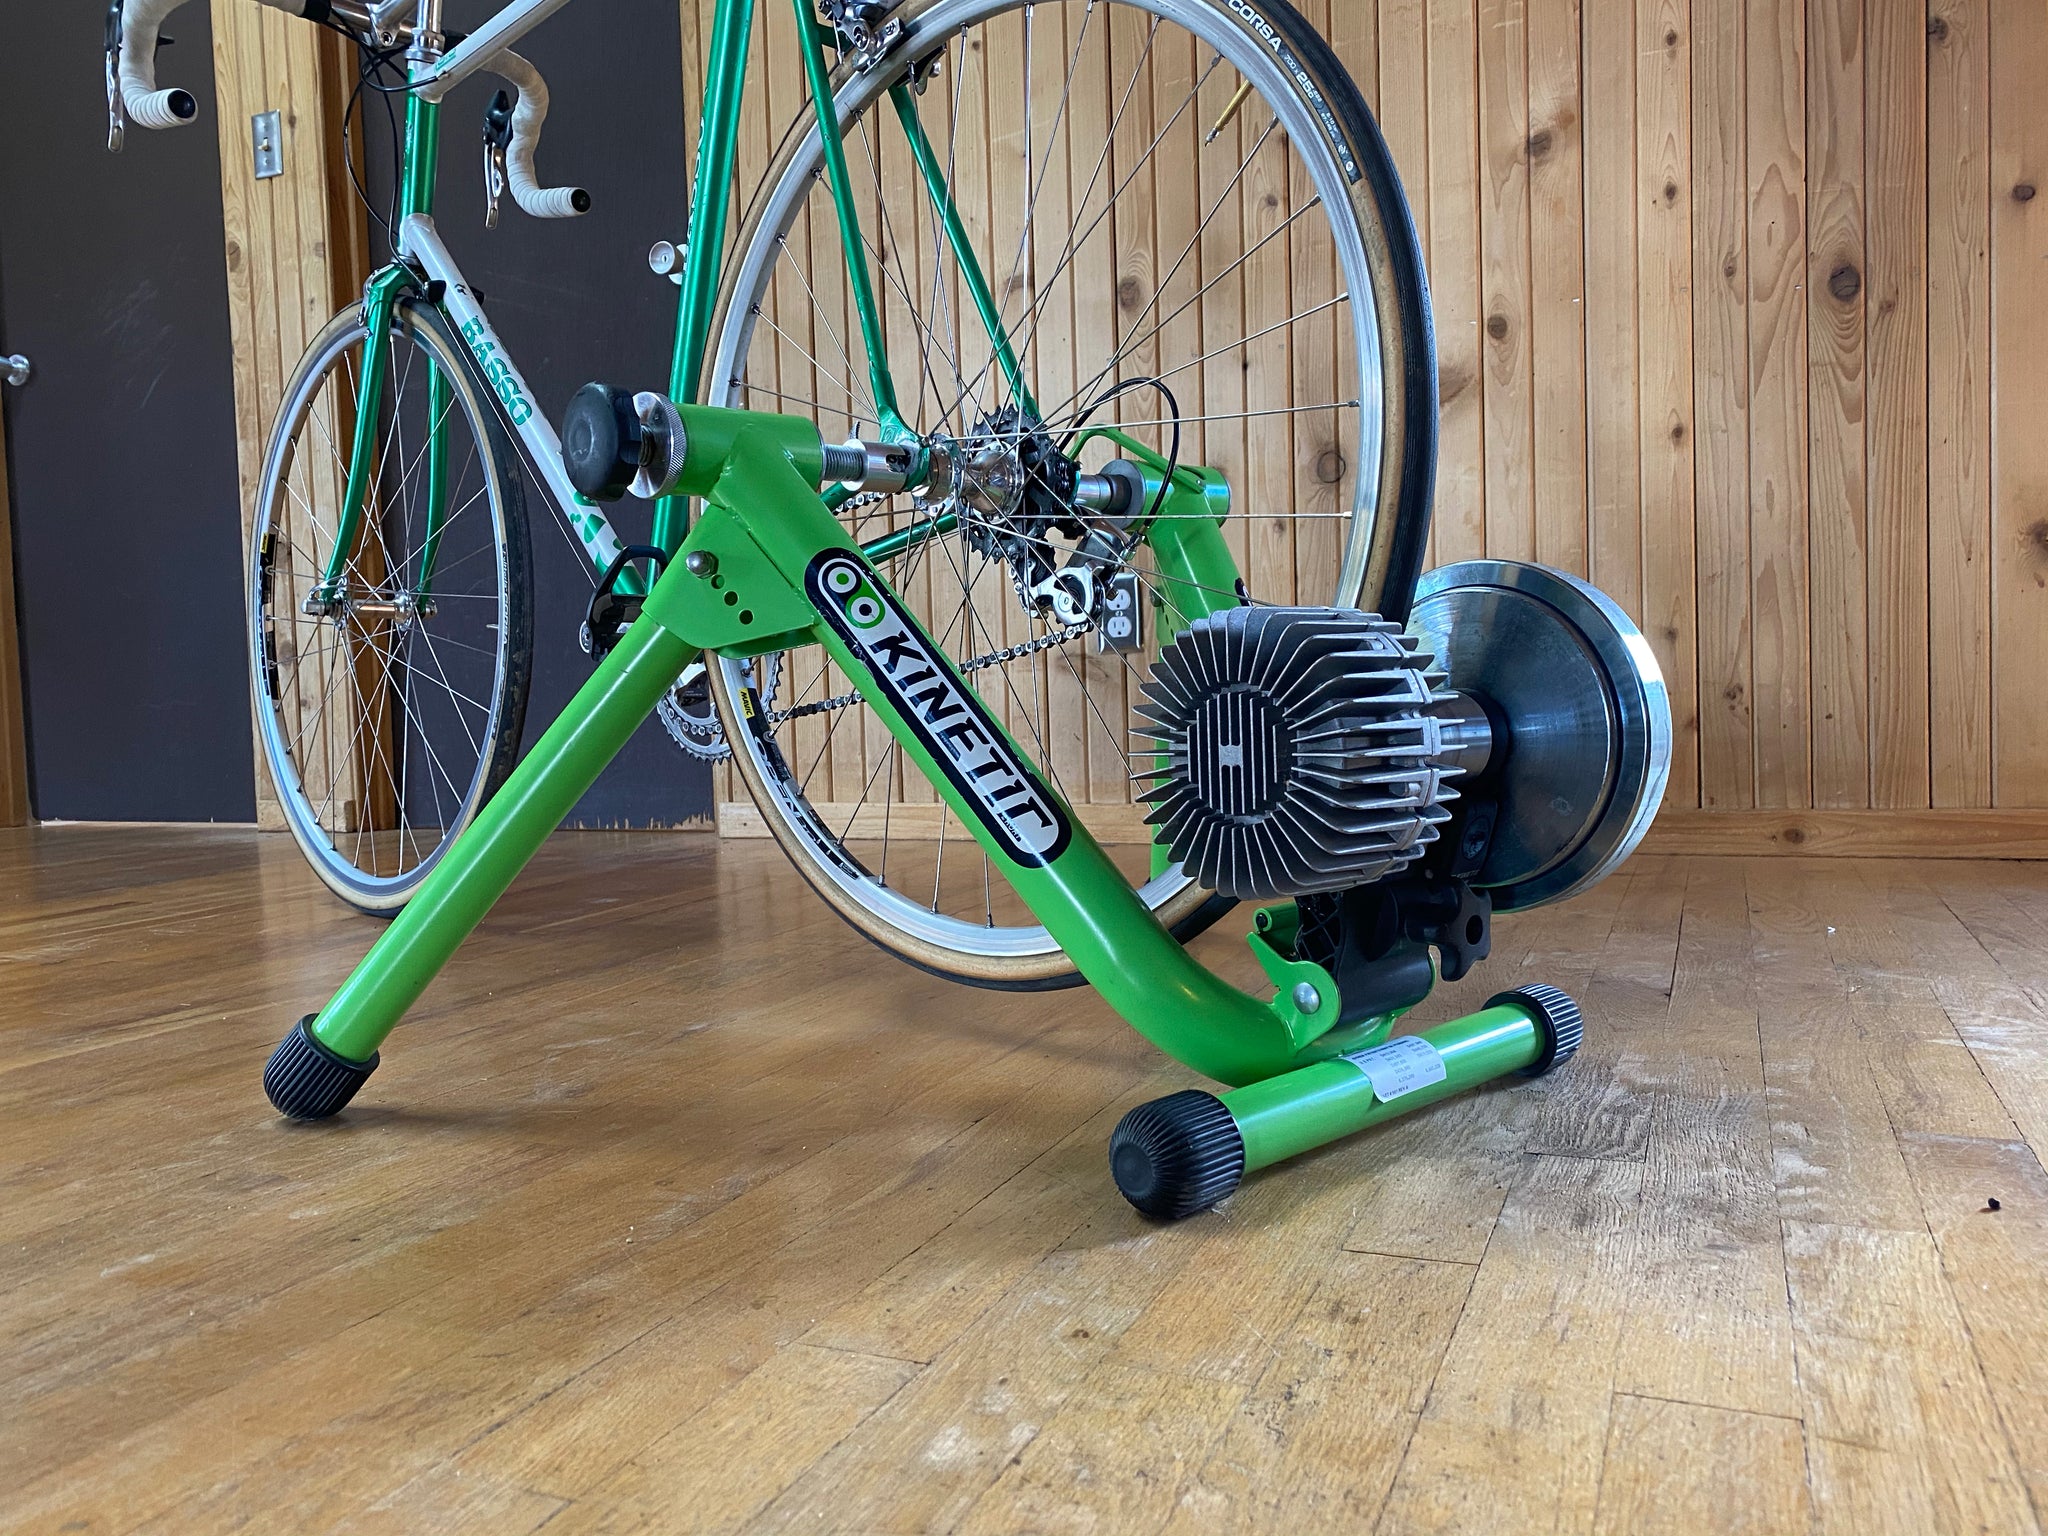 The black inRide sensor is visible near the flywheel.
To establish a Bluetooth connection with my older Macbook required a USB dongle. I was able to connect to my smartphone via Bluetooth first try. With the inRide 3, power curve data is built-in so the sensor connects to Zwift as a “Power Source” rather than a “Speed Sensor." It required no further selection for tire size or the specific trainer we were using.
For me, riding any trainer on Zwift is still an interesting and engaging experience. It doesn’t simulate outdoor riding at all. It's slower to respond to accelerations. And you don’t feel the resistance ramp up or decrease with the grade. So it’s almost an entirely different game. But it's still a worthwhile game. I can still explore the virtual world, and even participate in group rides and races with no issues.
You do have to think differently and change some of your ingrained riding habits. When climbing, it's best to to shift up to increase resistance and ramp up power to keep up with other riders. This is the opposite of what you do in the real world.
When descending it’s also easier to go fast because the resistance of your trainer doesn’t decrease. Zwift has built-in “trainer difficulty” settings that aim to equalize these sorts of variances, and they do a good job in most cases. But on long and steep descents, classic trainers might actually have an advantage in a group ride or race situation.
At the end of the day, using a classic trainer on any virtual course is going to be as engaging as you make it because you’re the one controlling your resistance with gear changes. You just have to pay attention and learn to shift into a harder gear when going uphill, especially when trying to stick with a group. Over time you will learn your trainer and figure out what ratios feel good for approximating different grades and you will have no problem keeping up with riders using smart trainers.
Final thoughts
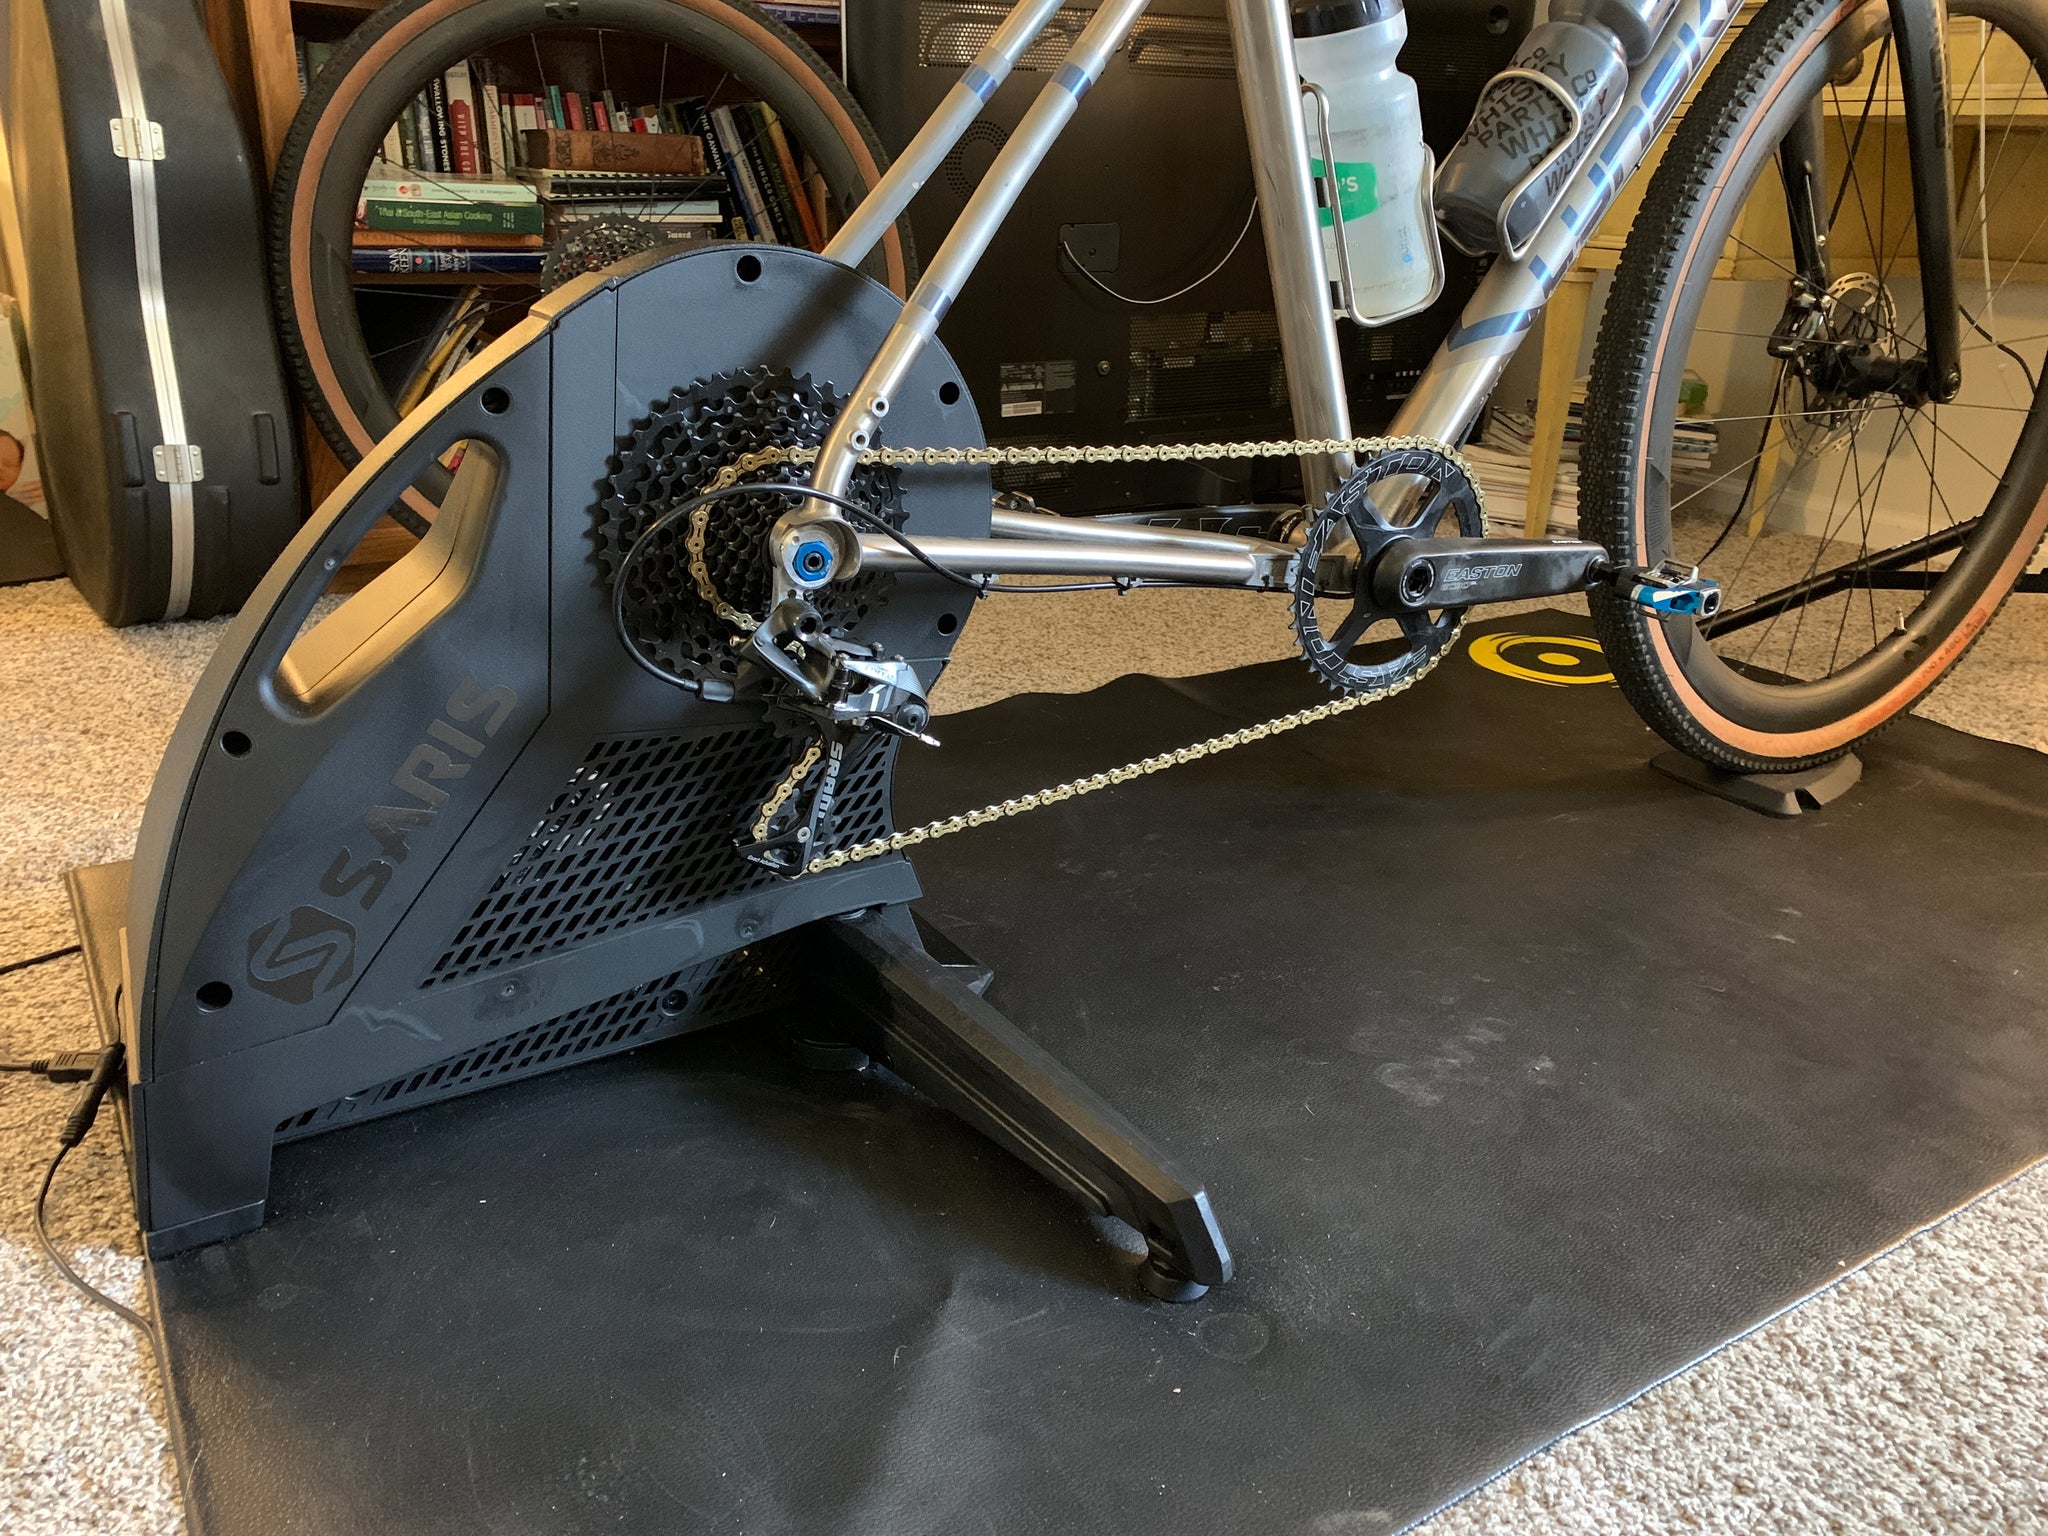
There are a few reasons to upgrade to a smart trainer for Zwift. First, if you can afford it, it’s nice to use the app as it was intended, to simulate outdoor riding.
If you’re going to be using Zwift often, it might make sense to upgrade because the controllable resistance can help you keep things interesting You can do flat rides, climbing rides, and workouts, just like you would in real life. I ride indoors at least three times a week, so it made sense for me to use a smart trainer.
If you’re serious about doing races or group rides on Zwift, a smart trainer can make the experience more realistic and engaging. Because the resistance is controlled by your trainer, you just have to focus on going hard and riding like you do outdoors. And if you're doing a lot of structured workouts, a smart trainer can make hitting power targets easier by controlling the resistance in ERG mode.
But if you’re committed, a classic trainer can still do everything you need for Zwift and will serve you well if your goal is to simply keep pedaling through bad weather or survive long periods of stay-at-home riding.
If you look at the icons next to riders' names, you’ll notice many who don’t have to power symbol next to them. There are more classic trainer users on Zwift than you might suspect. So you definitely won’t be alone.
Learn more about trainers and indoor cycling:
Indoor cycling & trainer dungeon essentials
The best indoor cycling app: Zwift vs. TrainerRoad
How to play Zwift and win: power-ups explained
We meticulously (and independently) pick every product, and if you purchase through our links we may earn a commission.


