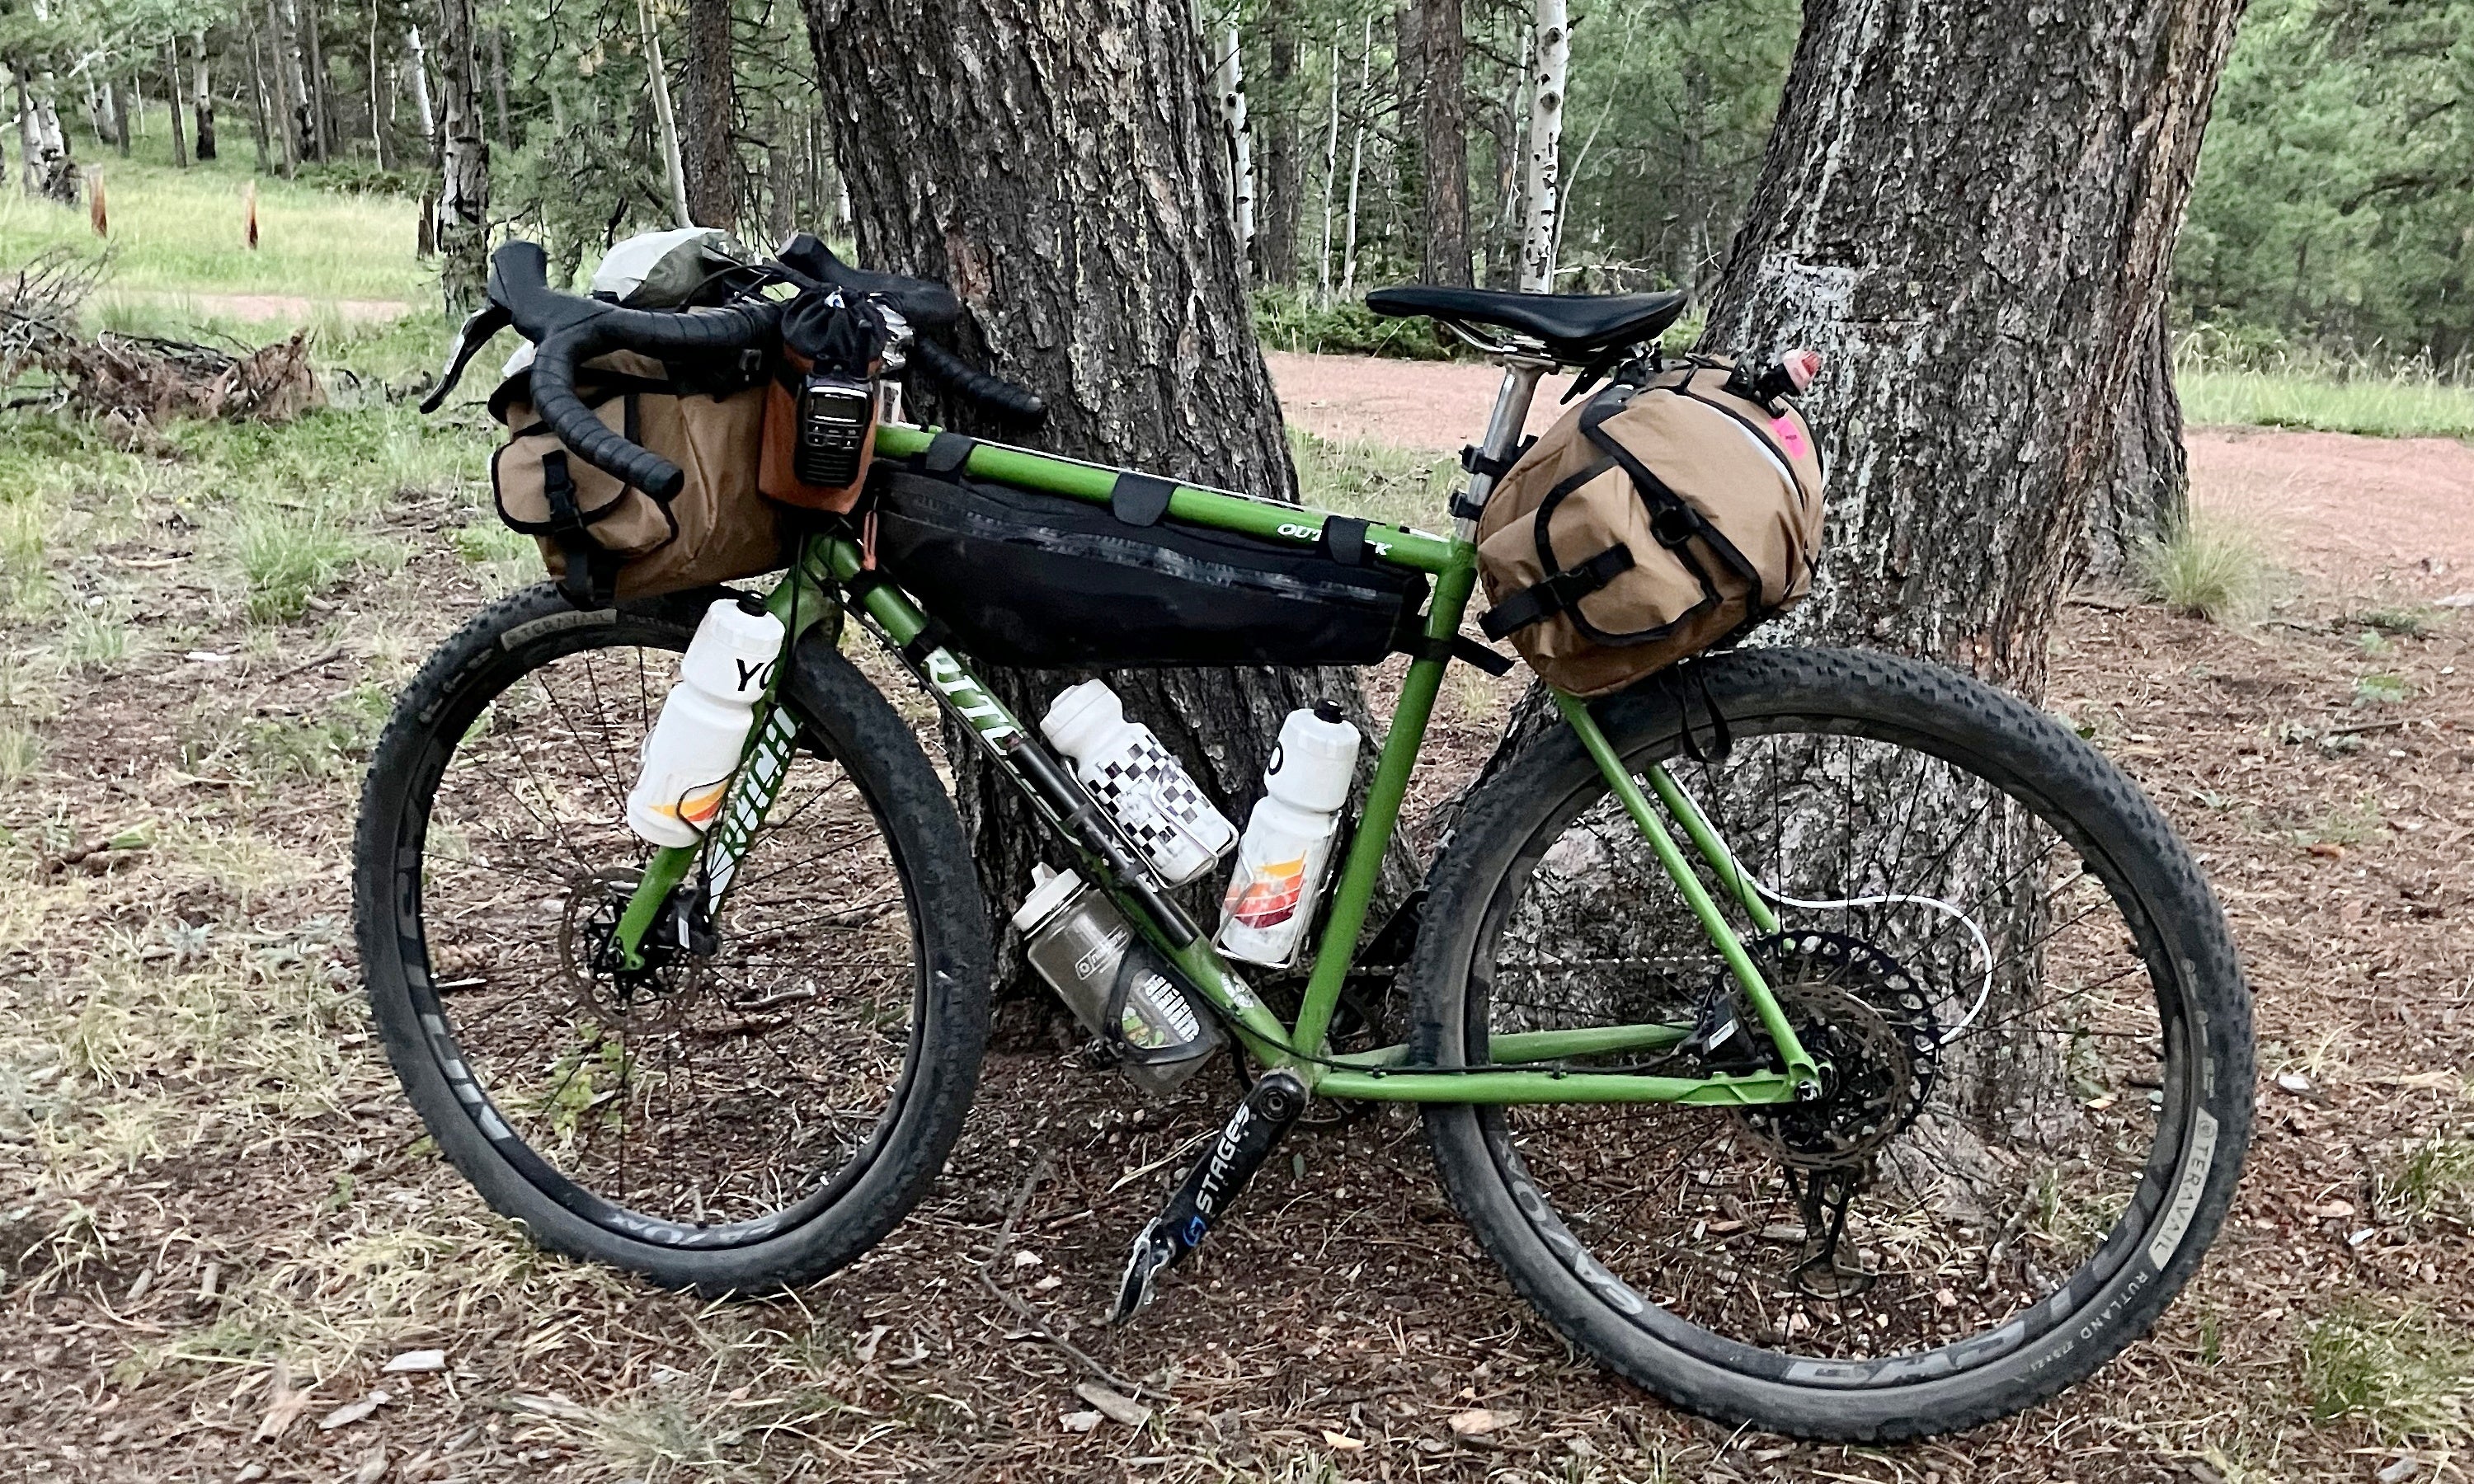
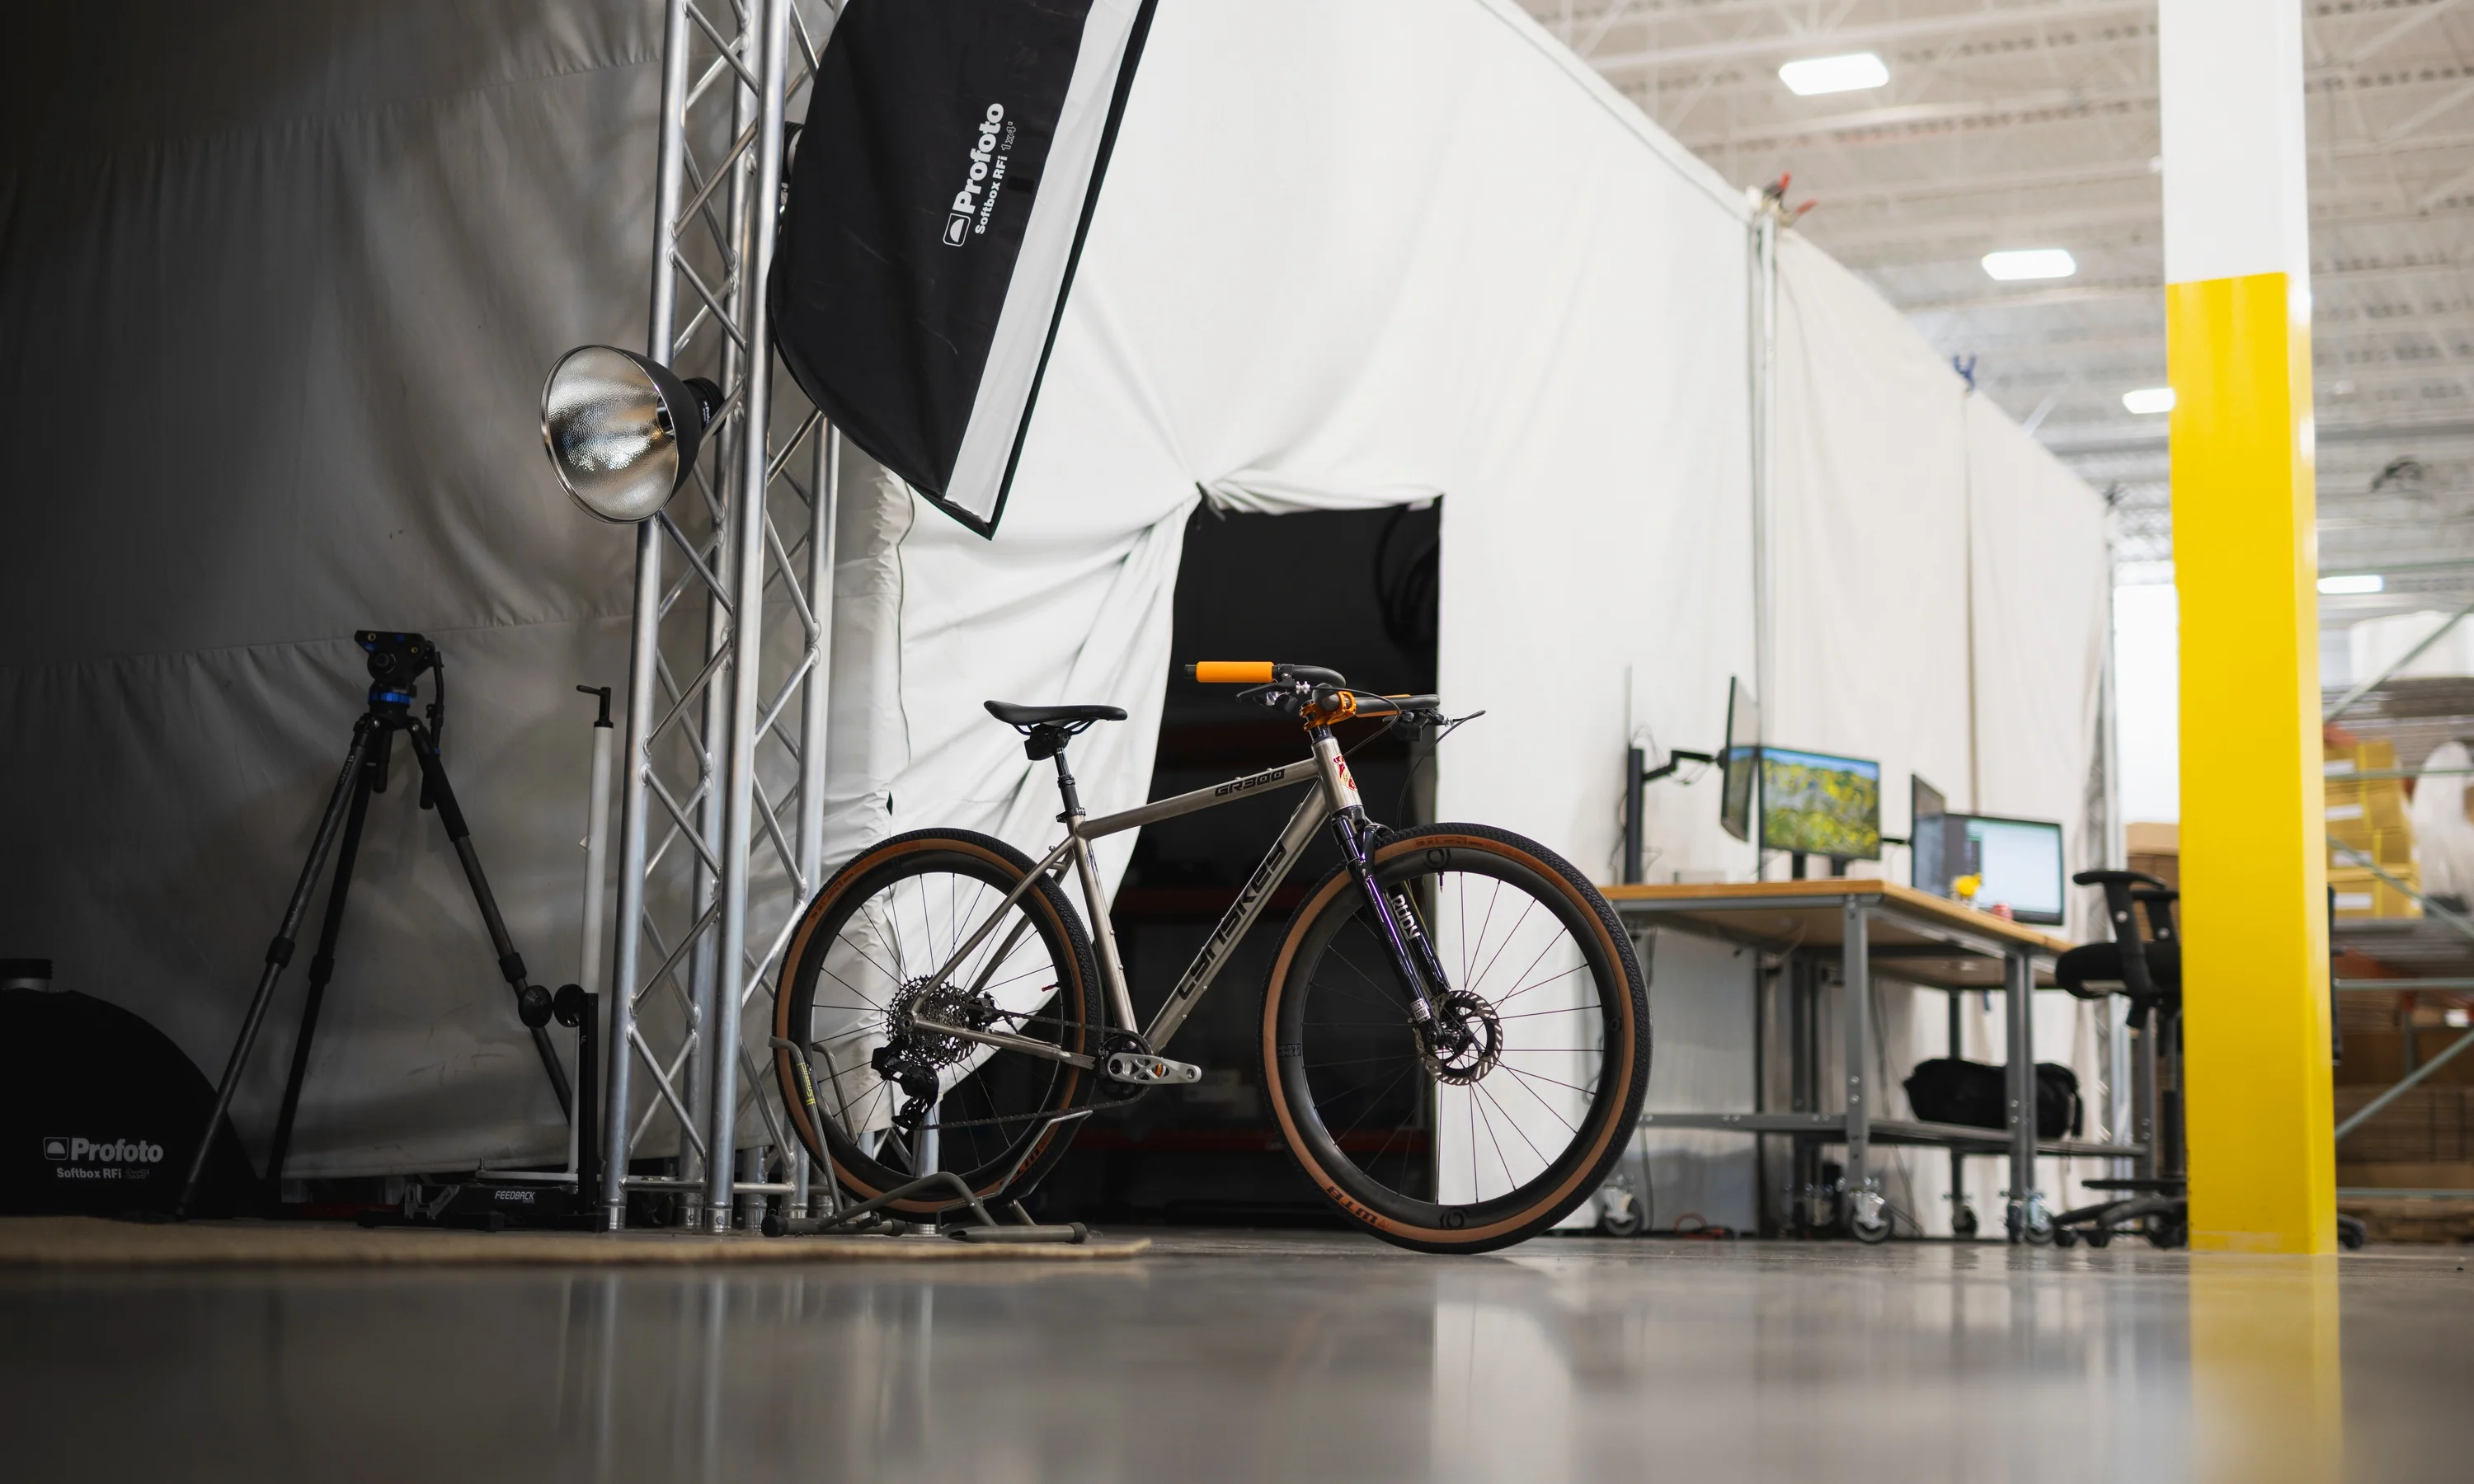
The crunch of gravel beneath bike tires is now one of my favorite sounds. I hunt for it, trekking through back roads and exploring singletrack trails to satisfy my gravel addiction. It’s easy to fall in love with the sense of freedom and adventure that comes from leaving the pavement behind. So, it’s no surprise that gravel riding has become so popular. 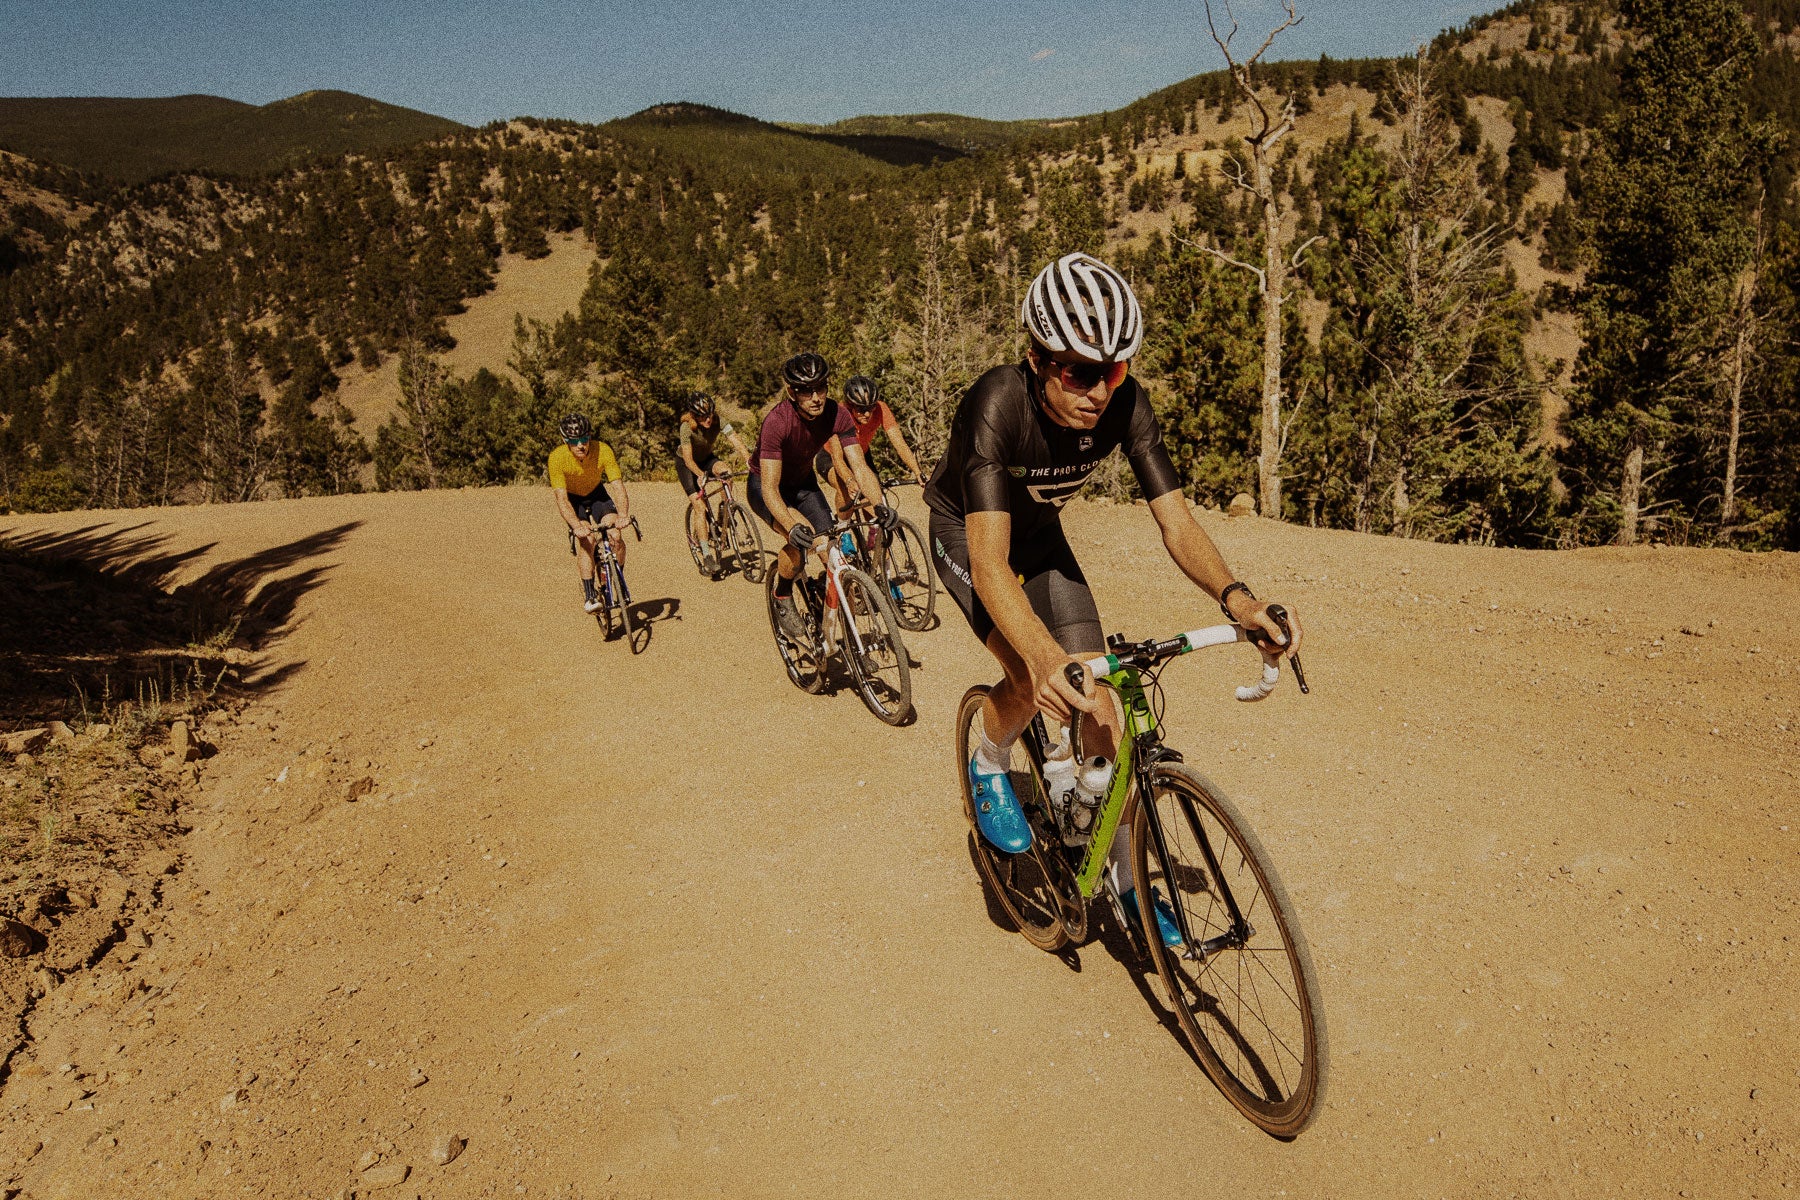
Gravel riding is easy to get into, but road riders who are used to riding pavement might be hesitant about the new challenges that come with rough terrain. Mountain bikers are always playing in the dirt but may want some guidance for entering the drop-bar world. This gravel riding guide will provide the necessary knowledge plus some advice and tips from some of our shop’s experienced riders to help you ease into the world of gravel riding with confidence. It will explain the basics of how to set up your bike and gear, how to handle your bike on gravel surfaces, and how to discover what gravel riding is all about.
If you’re buying a gravel bike for the first time and want to learn more about gravel-specific bike technology and terminology, you can also check out our detailed Gravel Bike Buyer’s Guide.
Do you need a gravel-specific bike?
 The gravel bike segment has seen huge growth in the last decade. New gravel bikes are released every year with designs and features intended to make them faster, more comfortable, and more capable off-road. But does that mean you have to buy the latest and greatest gravel rig to enjoy gravel roads? Absolutely not!
“I have ridden gravel on everything from a road bike with 28mm slicks to a 650b gravel bike with 2.1-inch knobbies,” says our content marketing manager, Spencer. Spencer is one of the most experienced riders in the shop when it comes to riding bikes on dirt. The ideal gravel bike will vary wildly based on a rider’s terrain, skills, and budget. But Spencer is skilled and experienced enough that he’s found he can make almost any bike work in a pinch. What defines a “proper” gravel bike isn’t very firmly established, and it’s possible to enjoy riding gravel on the bike you already have.
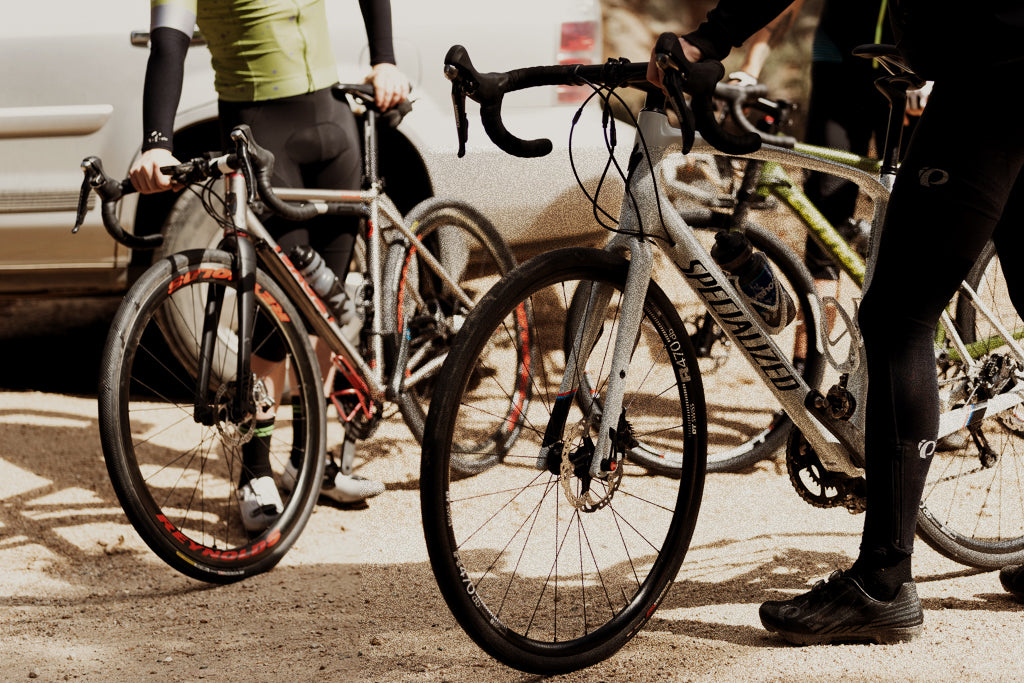
For example, Ricky, who works in The Pro's Closet's merchandising department, is a road racer who decided to mix things up and add some gravel roads to his training. He isn’t ready to buy an actual gravel bike just yet so he uses his Specialized Allez Sprint to tackle mellower gravel roads. The Allez Sprint is an extremely stiff and aggressive road racing bike with rim brakes. Ricky made it more gravel-capable by fitting wider 30mm tires. This small change has allowed him to join other riders in the shop on some fast gravel rides.
“I’m running what I have,” Ricky says. “I just swapped tires because they’ll make the biggest difference on gravel roads. If you’re going to ride a road bike, try to fit the widest tire you can, ideally one with some puncture resistance built-in too. Wide is good. If I get more into gravel riding it will definitely be better to get on a full gravel bike that can fit even bigger tires and have disc brakes, but I’m making do for now.”
I came from the other direction. Before I purchased my current gravel bike, I rode my hardtail 29er mountain bike. I ran fast-rolling, lightweight cross-country tires and even swapped in a rigid fork to make it more gravel-focused. This worked well for a long time. It was only when I began doing more races that I felt limited due to the bike's gearing and position. Only then did I finally make the switch to a more gravel-specific bike that was lighter and more agile.
Ricky will still drop me riding his road bike with 30mm tires on all but the gnarliest gravel roads. It’s fine to “run what you brung,” and nearly any bike can be modified in some way to perform better on gravel. That said if you find yourself riding gravel often, a dedicated gravel bike with features to improve your comfort, traction, and speed can greatly enhance the experience.
Bike set-up and gear
 Tire pressure
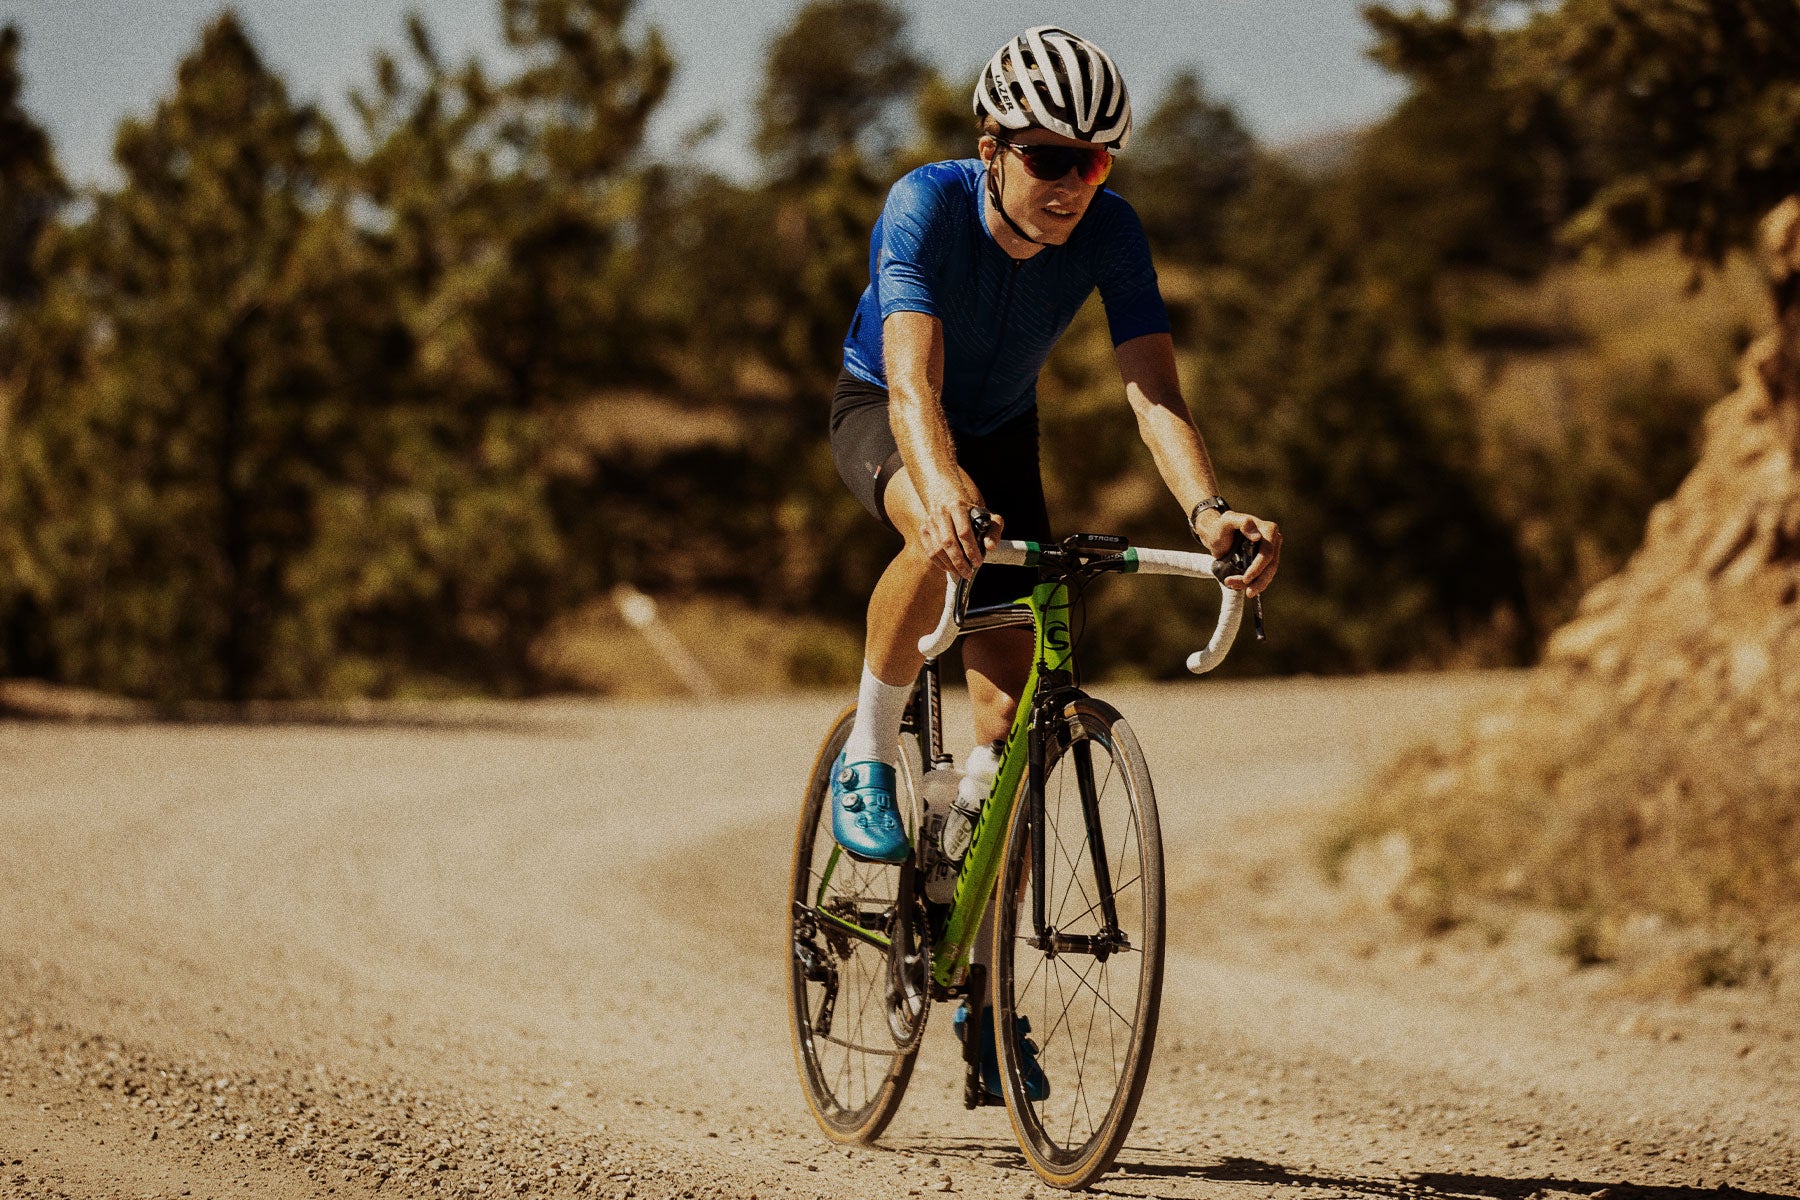
Wheels and tires are the most important pieces of equipment on a gravel bike. They are the first point of contact with the road and they help define your bike’s ride characteristics. Wider wheels and tires are becoming more popular because of the traction and comfort they offer. They allow riders to run significantly lower pressures, improving grip on loose surfaces and absorbing chatter and bumps on rough roads. As mentioned before, wider tires can even allow road bikes to venture onto gravel more confidently.
No matter your wheel or tire width, proper tire pressure is essential to enjoying gravel riding.
In general, lower tire pressures are preferable. Selecting the correct tire pressure will give you the ideal balance between good traction and comfort while preventing rim strikes, tire punctures, and excessive rolling resistance. If you’re used to running high-pressure road bike tires, you may be surprised by how low you can go on wide gravel tires. For gravel tires between 35-40mm wide, most riders will likely use between 30-40psi depending on their weight and personal preferences.
Experiment with tire pressures to find what works for you. One or two psi less or more can often make a noticeable difference. It helps to have an easy-to-read tire pressure gauge. It can be handheld or on your pump. As long as it’s consistent, it will help you compare the effects of changing your tire pressure.
If you find you don’t feel confident in your traction, or the ride quality is excessively harsh, try lowering pressure incrementally. If your pressure gets too low you may notice the tire bottom out against the rim over harsh bumps or rocks. The tire could also fold or roll during hard cornering, or your bike may feel bouncy and slow on harder surfaces.
Try to find a happy medium between too high and too low. Remember, you don’t need to settle on a single consistent pressure for every ride. It can change depending on the route or road conditions.
Tubeless tires
For gravel riding, a tubeless tire setup is ideal. Tubeless tires allow you to run lower tire pressures with less risk of pinch-flatting, and tubeless sealant can seal smaller punctures to prevent flat tires. Tubeless is now the standard for off-road cycling and if you have a bike capable of running tubeless tires, it’s worth familiarizing yourself with the system so you can maintain your bike and repair it when punctures eventually occur.
“I wish I knew more about tubeless setups when I started,” says Dan, our art director. Dan is a former roadie who has transitioned to gravel riding in the last few years. “I learned a bunch by making mistakes,” he says. “Rim strip application, tire seating tricks, how to tell if a tire is properly seated — it was a rough start. Study up. Don't be the rider in your group that doesn't maintain their bike properly, specifically if running tubeless. If you don’t remember the last time you filled your tires with sealant, chances are you're about to be roadside, bummed, and fixing double flats.”
Shoes and pedals
Most people ride gravel with clipless mountain bike shoes and mountain bike pedals. Mountain bike shoes and pedals are often preferable to road shoes and pedals because you may encounter situations where it’s necessary to dismount and walk. The recessed cleat and shoe lugs are better for walking off-road and make it so you don’t have to think before stepping off the bike.
“Don't be afraid to walk,” Tom says. Tom works in our purchasing department and is a 12- and 24-hour endurance racer. “Sometimes it's faster and you'll conserve energy. I once did a 160-mile ride with a 50 mile stretch of dirt that was often too soft to ride. When it got really bad, instead of fighting the dirt to keep going, I would get off, walk and use that time to eat and drink.” If Tom had been in road shoes, dismounting and walking through soft dirt would have been much harder.
The “rules” of gravel riding aren’t set in stone. Plenty of roadies get along just fine with their familiar road shoes and pedals. Also, if you prefer flat pedals, don’t feel like you need to change to fit in with the clipless hordes.
“I ride flat pedals on my mountain bikes, so I ride them on all my bikes,” Steve, our shipping manager, says. "It's what I'm used to." Steve is our shop's backcountry specialist and he’s known for day-long sufferfests that take him far from civilization. He prefers flat pedals because he’s comfortable on them, and they allow him to hike and bushwack through steep mountainous terrain. He’s fit enough that even on flat pedals he has no trouble keeping up on group rides.
Bottle cages
Bottle cages are something a lot of riders don't think about. But if you’re riding gravel, especially on roads that are bumpy, rocky, or washboard, make sure your bottles cages keep your bottles secure. I’ve seen countless bottles get ejected during gravel group rides and races.
Not only is it annoying to lose your bottle, but a loose bottle on the ground can be dangerous for other riders. You don’t want to be the person who causes a crash because your bottle cage didn’t do its job. Many riders prefer steel, alloy, or titanium cages that can be tweaked and bent slightly to provide a tighter and more secure fit.
Chain retention
Because gravel roads aren’t always smooth, you may encounter a situation where bumps derail your chain. That's why many gravel-specific drivetrains have adopted chain retention technology from mountain biking to ensure your chain stays in place.
A rear derailleur with a clutch will help chain retention by providing constant chain tension over bumps. Jeff, who works in our merchandising department, is a dedicated gravel rider and found that swapping to a clutched rear derailleur greatly improved his bike’s off-road performance.
“I upgraded from a regular Shimano Ultegra rear derailleur to an Ultegra RX derailleur with a clutch,” says Jeff. “It keeps the chain on, but it’s also been great because it actually provides quieter and smoother shifts on rough and bumpy terrain.”
Single-chainring gravel drivetrains are common and they combine a single “narrow-wide” chainring with a clutched rear derailleur to further improve chain retention. The narrow-wide profile of the chainring teeth meshes more securely with the chain to keep it from jumping off the chainring.
If your chain does end up falling off while riding, relax. If you can’t rescue your chain by shifting the derailleur(s) then you’ll have to put the chain back on the drivetrain by hand. We suggest that you don’t try to do this while moving, especially when riding in a group. It’s always safer to pull off and dismount to replace your chain while stopped.
If you don’t have clutched rear derailleur and/or a narrow-wide chainring, just be careful with your shifting. Sometimes it can help to shift to the middle cogs of your cassette in rough terrain. The chain is more likely to stay on when it’s straighter.
Flat repair, tools, and emergency supplies
Flat tires and other mechanicals are highly possible when riding gravel. Because gravel riding often takes riders on roads that have less traffic and are farther from civilization, it is important to be self-sufficient.
Some gravel riders like to use saddle, handlebar, or frame bags to hold their tools, extra food, hydration, spare parts, and clothing layers to be ready for different situations.
“You should have a practical ‘oh s—t’ kit that scales depending on how far out you are,” Dan says. “I suggest at the very least tubes, a hand pump, tire plugs, chain quick links, and a multi-tool with a chain breaker. That will get you by in most basic situations. Also cash. Sometimes when you’re you're heading out into the wild here in Colorado you’ll encounter these small cash-only stores. Plus, $1 bills make great tire boots if you cut your tire.”
How to ride gravel
 Relax and be smooth
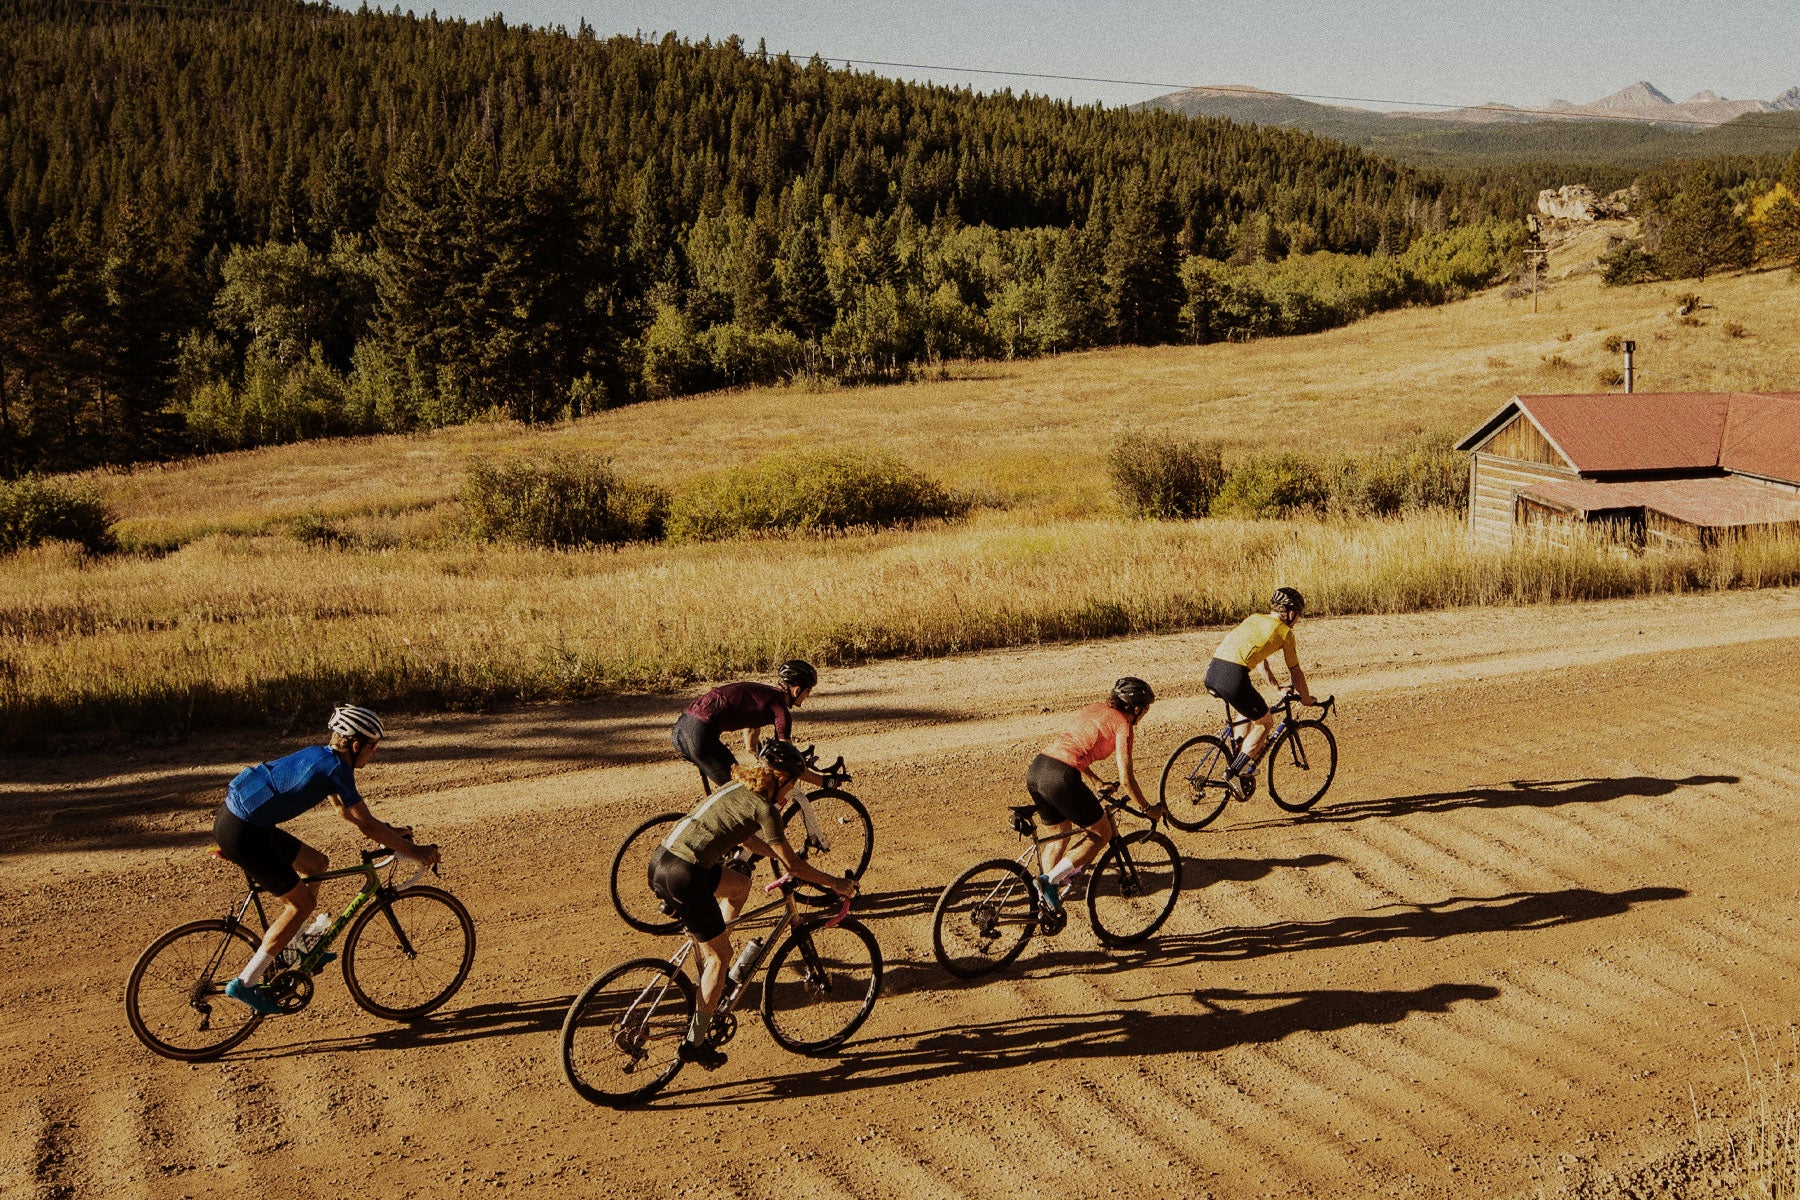
Gravel roads can be beautifully smooth or they can be filled with rocks, holes, and washboards. Rough terrain beats up your body and saps your energy. Loosen up to absorb bumps. Death-gripping the bars with tense arms is a recipe for exhaustion, blown corners, and even crashes. A firm grip combined with loose arms lets the bike do more work beneath you. The key to riding gravel well is to be smooth — pedal smooth, brake smooth, and turn smooth. Try to avoid aggressive body movement or large and sudden shifts in weight. Let your wheels' momentum work its magic.
Choosing lines
Finding good lines requires far more attention on gravel than when riding pavement.
Read the road surface ahead and scan for areas where traction may be compromised. You will be able to read roads better as your experience grows. Avoid large or sharp rocks, deep holes, and piles of debris that can puncture a tire. Deep patches of sand or deep gravel on a corner can sound trouble.
Good lines are smoother and free of rocks, which will provide more comfort and traction. Often the widest, smoothest arching turn is preferable, but varying road surfaces can sometimes make this impossible.
“Try to ride where the road's smoother and harder. But if you end up in softer sand, mud, and snow try to keep the bike upright and pointing in a straight line,” Tom says. “Trying to turn hard on soft surfaces will rob you of your momentum and possibly cause you to crash.”
Cornering and descending
Many new gravel riders are nervous when cornering or descending on loose gravel. Start by lowering your center of gravity. Keep your chest low and drop your heels. Fear and instinct will often make new inexperienced riders sit up and push themselves away from perceived danger. This is undesirable because it unweights the front tire, reducing traction and often increasing the likelihood of a crash.
When cornering and descending, stand up out of the saddle so you weight the bike through the pedals rather than the saddle. This gives you more control by centering your weight over your bottom bracket.
Don’t stare right in front of your front wheel and instead try to look ahead through the turn toward the exit. Look where you want to go, and the bike will follow.
Lean the bike underneath you when cornering. The bike turns by leaning and leaning it separately from your body applies more weight over the tire's contact patch, giving you more traction and control. If possible, drop and weight your outside foot/pedal to lower your center of gravity even more and produce more traction.
Descending in the drops allows you to keep low and it also gives you more control over rough terrain. Riding in the drops provides a more secure grip and more leverage to pull the brake levers. Riding on the hoods generally forces your center of gravity higher. The hoods are also harder to grip securely, and it’s more difficult to brake hard from the hoods.
If you’d like more advanced cornering advice read our Tips to Corner Better from world-renowned skills coach, Lee McCormack. It focuses on mountain biking but the tips and skills apply to all forms of off-road cycling.
Braking
When riding on loose surfaces, engage the brakes smoothly to avoid locking them up. A skidding tire has much less traction than a rolling tire. The front brake gives you the most stopping power and should be carefully modulated in conjunction with the rear.
Your brakes are generally best used when the bike is upright, rolling in a straight direction. This is when the tires have the most amount of traction. As you begin to lean a bike into a corner you should brake less to avoid washing out. Ideally, you will get all your braking done before a turn, and then turn in off the brakes. This is especially important if a corner is loose, rough, bumpy, or washboard.
Explore
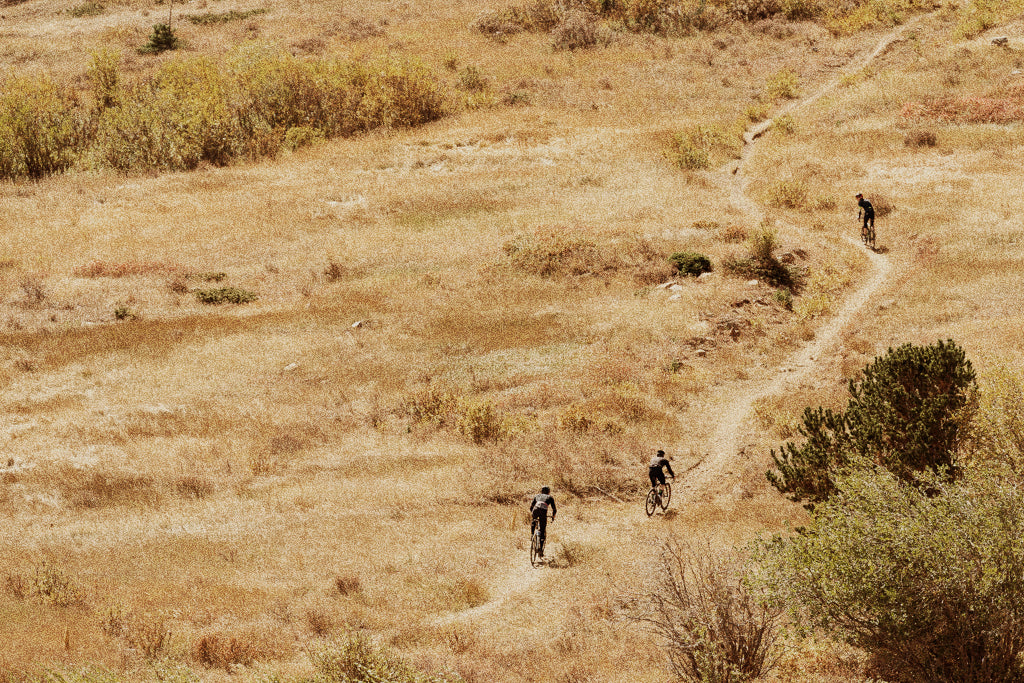 The best part about riding gravel is the sense of adventure that comes from riding rougher and more remote roads. Gravel bikes are incredibly capable and allow you to get out there and explore new roads and trails. Ride within your comfort zone and go as fast as your skills allow. Build your confidence and skills slowly and gradually. If you’re new to riding gravel you will only get better. It is good to push yourself from time to time. There’s no shame in trying a difficult route and tiptoeing through things or even getting off and walking. It’s all part of the adventure.
“Find friends and groups to ride with,” Dan says. “Sometimes it’s hard to find and explore new roads on your own. Having a wheel to follow can open up a ton of new roads you never knew existed. Make sure you have good trail etiquette, and horse etiquette and go out and ride some singletrack too! Don't be bashful with what you try on a gravel bike. A trail that might be a boring and buffed-out flow trail on a mountain bike might become your favorite rip on a gravel bike. You'll get a lot of ‘You took that out here!?’ looks from full-suspension folks. That sort of thing makes me smile. There’s nothing more fun.”
“Start slow and increase the distance until you're doing overnighters!” Steve says. “I also like to spend time exploring my local roads on Google Maps and finding segments on Strava. It’s a great way to identify new routes and find new things to ride. Pack plenty of food and water and get out there.”
Races and events
“Unlike most other cycling disciplines, I think events or 'races' are one of the best ways for a beginner to dive into gravel riding,” Spencer says. “They are welcoming, fun, and usually very well-organized. If there's one in your area, it will probably introduce you to an entirely new route that you'd never experience if you stuck to the road.”
Gravel races are becoming more popular, and new ones are constantly springing up. The front of the race is usually competitive. But if you’re not hammering at the sharp end, the majority of riders are more concerned with completing the course and having a great time while doing it. This makes gravel events and races one of the best ways to enjoy the dirt and introduce yourself to a whole new style of riding.
Final gravel tips
Dan
When it comes to tires, larger truly is better. I went from 38mm to 45mm tires and my confidence skyrocketed.
Strava recording is 100% cool. Don't let anyone tell you differently. Sure you don't need to stare at a screen on your stem. But keep it running and check out your ride afterward. Share the ride with others. Bring the stoke! Figure out different connectors and side trails you can explore.
I always like having some sort of small bike bag too. Get stuff out of your back jersey pockets.
Jeff
I suggest an Allied Alfa Allroad. That’s what I ride.
Ricky
Don’t overcook the corners. I’m running 30mm slicks which means I have to be cautious leaning it in on loose stuff. Staying upright is more important than being a smidge faster through a corner.
Steve
Flared drop bars are the best! The lower drop portion of the bar flares out. That wide stance gives you way more control when you’re riding singletrack and technical descents.
Spencer
Above all, you have to have the right attitude. At some point on a gravel ride, you'll end up feeling like you have the wrong equipment just because the terrain is so varied. It's all good — you're out exploring on a bike so have fun and make the best of it.
Tom
There is a ton of great gear that is out there but don't overthink it. A good attitude and a lust for adventure are all you need to get out there. Once you have a greater understanding of what you want to ride, you can purchase the gear to support what you are looking to do. If you don’t know already, don't wear underwear under your bike shorts. Ever.
What do you wish you knew when you started riding gravel? What are your key tips, tricks, and advice for new gravel riders? Let us know in the comments!

 Tire pressure
 Relax and be smooth